To replace a heel cap at home, first assess the damage and gather your materials, including a new heel cap and strong adhesive. Remove the old cap using a heat gun or screwdriver, then clean the shoe surface thoroughly. Align the new cap, apply the adhesive, and press down firmly. Secure it with clamps while curing according to instructions. Don’t forget to maintain your shoes regularly to extend their life and improve their appearance. Continue to learn about the maintenance process.
Assessing the Damage
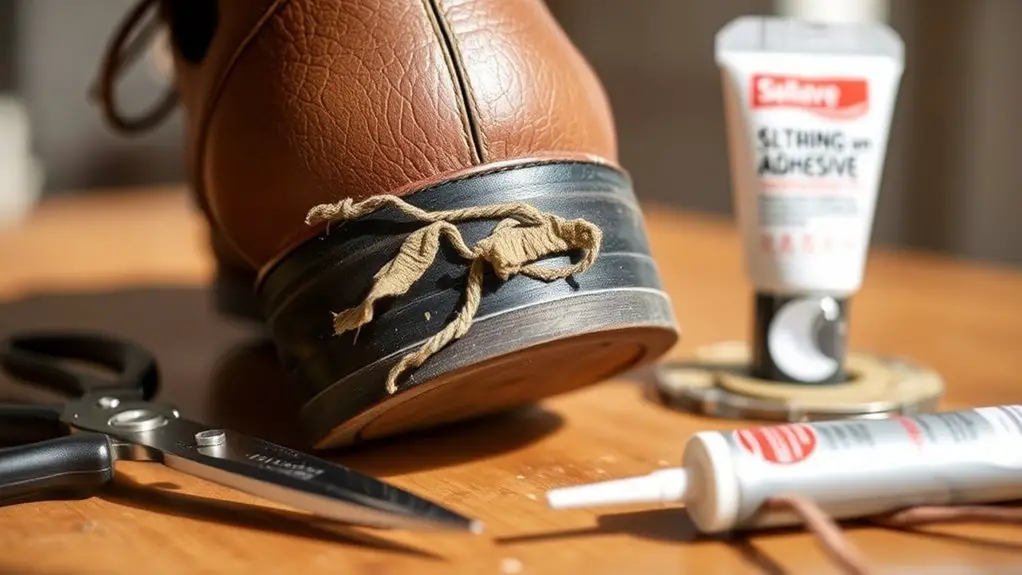
Before diving into the replacement process, it is crucial to assess the damage to the heel cap. Start by inspecting for common damage types, such as cracks, chips, or complete detachment. Use a magnifying glass if necessary to identify subtle imperfections that could affect the overall integrity of the heel.
Once you’ve identified the damage, categorize it. Minor cracks might require simple repair techniques like adhesive application, while larger breaks or detachment might necessitate a full replacement. Evaluate the material of the heel cap, as this will influence your repair approach. For example, rubber caps can often be glued, while plastic may need a different adhesive.
Document your findings, as this will guide your repair strategy. Make sure you understand the extent of the damage before proceeding, ensuring you select the most effective repair techniques for a successful outcome.
Gathering Your Materials
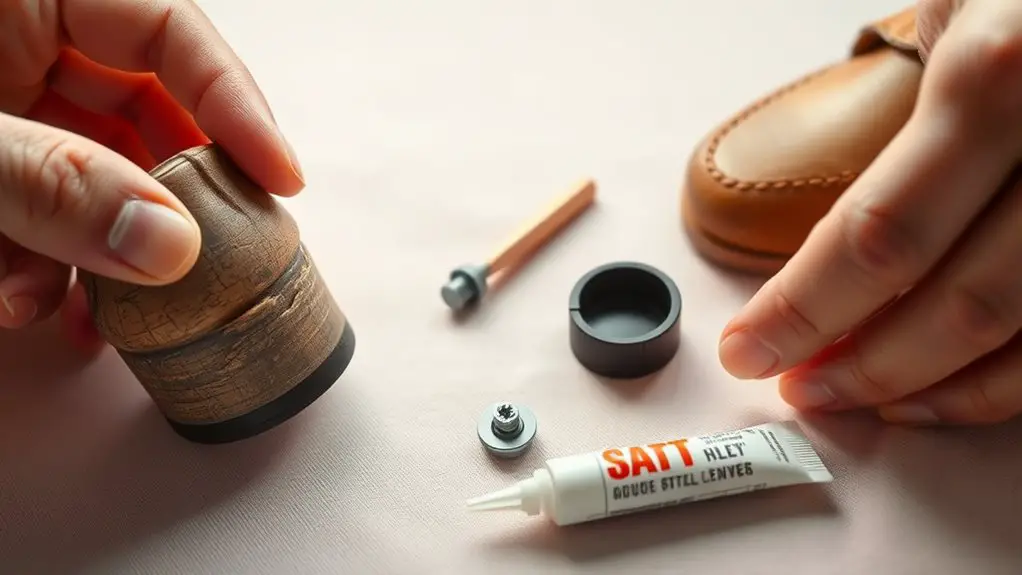
To successfully replace a heel cap, you’ll need to gather several essential materials and tools. Having the right material types and equipment will guarantee a smooth process and a professional finish. Here’s what you’ll need:
Gather essential materials and tools for a smooth heel cap replacement and achieve a professional finish.
- New Heel Cap: Choose one that matches your shoe type, whether it’s rubber, leather, or plastic.
- Adhesive: A strong, waterproof glue is necessary for a durable bond.
- Utility Knife: This tool helps in trimming excess material and guaranteeing a clean fit.
- Clamps or Weights: These will hold the heel cap in place while the adhesive cures.
Collecting these items beforehand will save you time and frustration during the replacement. With all your essential tools at hand, you’ll be set for a successful DIY project that revitalizes your footwear.
Removing the Old Heel Cap
Start by carefully inspecting the heel cap to identify how it’s attached. Look for any visible screws, nails, or adhesive. For attachment methods, you have a few technique options: using a heat gun to soften adhesive, a flathead screwdriver to pry off caps, or pliers if nails are involved. If the heel cap is glued, gently heat it to avoid damaging the shoe.
When using a screwdriver, be cautious to avoid scratching the shoe surface—this is a common mistake. Once you’ve loosened the cap, apply consistent pressure to remove it completely. If it resists, reapply heat or check for hidden screws.
Always work slowly and methodically to prevent damaging the heel or surrounding areas. After removal, inspect the heel for any debris that might affect the new cap’s adhesion. With care, you’ll guarantee a smoother replacement process.
Preparing the Shoe Surface
Before you start replacing the heel cap, gather all necessary tools, including a clean cloth, adhesive, and a scraper. It’s essential to clean the area around the heel to guarantee proper adhesion and inspect for any damage that might need attention. Evaluating the damage level will help you determine if additional repairs are required before proceeding with the new heel cap installation.
Gather Necessary Tools
While preparing to replace a heel cap, it’s essential to gather the right tools to guarantee the process runs smoothly. Having the proper tool types not only guarantees efficiency but also minimizes the risk of damaging your shoes. Here are four necessary items you’ll need:
- Pliers – For removing the old heel cap effectively without damaging the shoe.
- Glue – A strong adhesive designed for shoe repair to secure the new heel cap in place.
- Replacement Heel Cap – Make certain it matches your shoe’s specifications for a seamless fit.
- Utility Knife – To trim any excess material and guarantee a clean surface for adhesion.
With these tools in hand, you’re ready to tackle the replacement process confidently.
Clean the Area
Once you’ve gathered your tools, the next step is to clean the area where the new heel cap will be applied. Begin by using your cleaning supplies, which should include a soft cloth, rubbing alcohol, and a small brush. Dampen the cloth with rubbing alcohol and gently wipe the surface around the heel area to remove any dirt, grime, or adhesive residue. For stubborn debris, use the brush to dislodge particles. Confirm that the surface is completely dry before proceeding, as moisture can hinder adhesion. Effective surface preparation is vital; a clean, dry area allows the new heel cap to bond securely, guaranteeing durability and performance. Take your time with this step for the best results.
Assess Damage Level
Evaluating the damage level of your shoe is essential for ensuring a proper heel cap replacement. You’ll want to identify the damage indicators to determine suitable repair options. Here’s what to look for:
- Cracks or Splits: Inspect the heel for any visible fissures that may compromise stability.
- Worn Edges: Check if the edges are frayed or uneven, indicating excessive wear.
- Loose Components: Gently wiggle the heel cap; if it moves, the attachment is weak.
- Discoloration or Staining: Look for discoloration which could signify deeper material degradation.
These assessments will guide you in selecting the right repair options, ensuring your shoe’s longevity and functionality remain intact.
Attaching the New Heel Cap
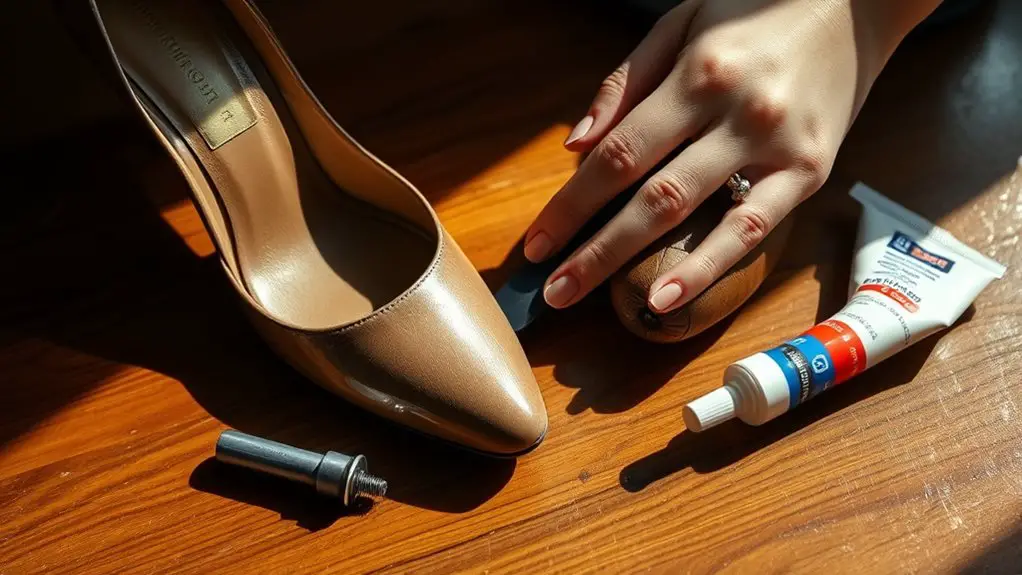
Before you begin attaching the new heel cap, verify that you have the right tools and materials ready, as this step is essential for a secure and durable fit. Select an appropriate adhesive option, such as a strong shoe glue or epoxy, based on the material of both the heel cap and the shoe. Clean the surfaces where the heel cap will attach to guarantee proper adhesion.
Next, choose an attaching method: either apply adhesive directly to the heel and press the cap in place or use a combination of adhesive and screws for added security, depending on the cap design. Align the heel cap precisely before pressing down firmly, ensuring that no gaps exist. If you opt for screws, pre-drill holes to prevent cracking. Allow the adhesive to cure according to the manufacturer’s instructions before proceeding to the next steps in your heel cap replacement.
Securing the Heel Cap
Secure the heel cap by applying consistent pressure to secure a strong bond. This step is essential for guaranteeing a secure attachment that withstands daily wear. Follow these steps to achieve ideal results:
- Align the heel cap: Confirm it’s perfectly positioned over the area to prevent misalignment during attachment.
- Apply adhesive: Use a high-quality shoe adhesive, as it provides better durability and strength.
- Press firmly: Maintain steady pressure for at least 30 seconds to help the adhesive set properly.
- Check for stability: After releasing pressure, gently wiggle the heel cap to confirm it’s securely attached.
Finishing Touches
Once the heel cap is firmly attached, you can focus on the finishing touches that enhance both the appearance and longevity of your repair. These details can greatly improve the aesthetic appeal of your footwear. Start by smoothing the edges of the heel cap with fine sandpaper, guaranteeing a seamless blend with the shoe. Next, apply a matching color polish or sealant to protect the material.
Here’s a quick reference table for your finishing touches:
| Task | Purpose |
|---|---|
| Sanding edges | Smooth shift |
| Applying polish | Color matching and protection |
| Inspecting for gaps | Confirms no exposed areas |
| Cleaning the surface | Enhances overall appearance |
| Final inspection | Confirms quality of repair |
These finishing touches not only elevate the aesthetic appeal but also extend the life of your repaired heel.
Tips for Future Maintenance
Maintaining your footwear after a heel cap replacement is essential to guarantee lasting durability and performance. Implementing preventive care will not only extend the life of your heels but will also enhance your overall comfort. Here are some crucial tips for future maintenance:
- Conduct Regular Inspections: Check your heel caps for signs of wear or damage at least once a month.
- Clean Frequently: Remove dirt and debris regularly to prevent buildup that could affect the heel’s integrity.
- Store Properly: Keep your shoes in a cool, dry place to avoid warping or deterioration of the heel cap material.
- Use Protective Products: Consider applying a protective spray designed for the material of your footwear to guard against moisture and stains.
Frequently Asked Questions
Can I Replace a Heel Cap on Any Shoe Type?
You can replace a heel cap on various shoe types, but it depends on heel materials. Just like a tailor altering fabric, make certain your chosen materials match the shoe’s structure for a seamless, durable fix.
How Long Does the Heel Cap Replacement Process Take?
The heel cap replacement process generally takes about 30 to 60 minutes. This time estimate includes gathering replacement materials, removing the old cap, preparing the surface, and securely attaching the new heel cap.
What if My Shoe Has a Unique Heel Shape?
About 30% of shoe wearers have unique shoe shapes. If your shoe’s heel shape is distinct, you’ll need custom heel caps tailored to fit properly, ensuring durability and maintaining your shoe’s original aesthetics.
Is It Safe to Wear the Shoes Immediately After Replacement?
When replacing a heel cap, immediate wear can pose safety concerns. It’s vital to guarantee the adhesive has fully cured and the heel is secure before wearing the shoes to avoid potential injury or further damage.
Where Can I Purchase Replacement Heel Caps?
You can purchase replacement heel caps from various online retailers like Amazon or eBay. Additionally, local cobblers often carry them and can provide expert advice on choosing the right type for your specific footwear needs.