To fix wobbly heels at home, first, identify the cause—check for loose screws, worn insoles, and uneven outsole wear. Gather tools like screwdrivers and pliers, then tighten any loose fasteners. If necessary, apply a suitable shoe glue for added stability or reinforce with duct tape as a temporary fix. Consider using insoles for better weight distribution, and if the heels are worn out, replace them entirely. For best results, you might want to explore additional maintenance techniques.
Identify the Cause of the Wobbliness

When you notice your heels wobbling, it’s essential to pinpoint the underlying cause. Wobbly heels often stem from a lack of shoe stability, which can be due to various factors. First, check the heel construction—if it’s made from soft materials or lacks reinforcement, it may not provide adequate support. Next, inspect the insole; inadequate cushioning or wear can compromise stability, causing your heels to wobble.
Additionally, uneven wear on the outsole can lead to imbalanced weight distribution, exacerbating the issue. Make sure your shoes fit properly; too loose or tight a fit can contribute to instability. Finally, consider your walking surface; uneven terrain can also affect your heel stability. By systematically evaluating these elements, you can effectively identify the cause of your wobbly heels and take appropriate action to enhance shoe stability.
Gather Your Tools and Materials
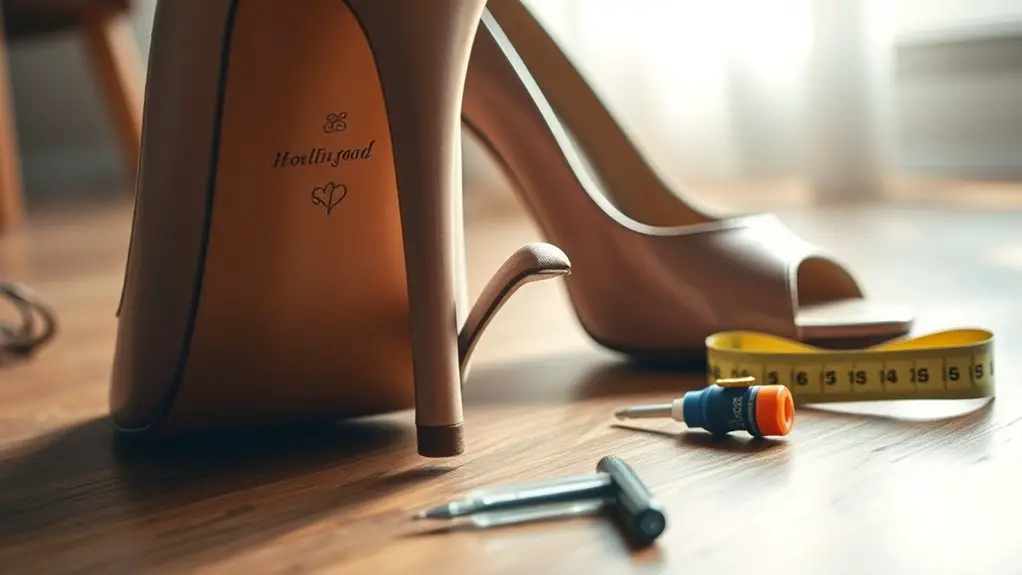
Before you start repairing your wobbly heels, you’ll need to gather some essential tools and materials. Make sure you’ve got a screwdriver, wood glue, and a sturdy adhesive pad handy. Also, don’t forget to take into account safety precautions, like wearing gloves and working in a well-lit area to prevent accidents.
Essential Tools Needed
To effectively fix wobbly heels, you’ll need a few fundamental tools and materials at your disposal. Proper tool selection is essential for implementing effective repair techniques, ensuring your repair work is both efficient and durable. Here’s a concise list of the tools you should gather:
- Screwdriver Set: A variety of screwdrivers will help you remove and tighten any screws that may be loose.
- Pliers: These are important for gripping and manipulating small parts, especially when adjusting metal components.
- Wood Glue or Epoxy: A strong adhesive is critical for reinforcing connections that have become weak over time.
With these tools, you’ll be well-equipped to tackle the issue of wobbly heels and restore your footwear’s stability.
Materials for Repair
Having gathered your tools, the next step is to collect the right materials for the repair process. You’ll need adhesive suitable for your shoe’s material types, such as leather, rubber, or plastic. Depending on the severity of the wobble, consider using a strong epoxy or contact cement for a durable bond. If the heel is detached, a small wood block or shim can help stabilize it during the repair. For additional support, a fabric patch or reinforcement tape can be useful. Make certain to have sandpaper on hand to smooth out any rough edges after applying your adhesive. These materials will enhance the effectiveness of your repair techniques and guarantee your heels are sturdy once more.
Safety Precautions to Consider
While you’re keen to tackle the repair of your wobbly heels, it’s vital to prioritize safety throughout the process. Before starting your shoe repair, make sure you gather the right tools and materials while taking necessary precautions. Here are three essential safety items you should have on hand:
- Safety goggles: Protect your eyes from any adhesive or small debris during the repair.
- Gloves: Use disposable gloves to keep your hands safe from adhesives and chemicals that may irritate your skin.
- Non-slip mat: Place your working surface on a non-slip mat to prevent any accidental slips while you’re focused on fixing those wobbly heels.
Tighten Loose Screws or Fasteners
Start by inspecting your heels for any loose screws or fasteners, as these are often the culprits behind instability. Make certain you have the correct tools on hand, such as a screwdriver or wrench, to properly secure them. After tightening, check the heel’s stability to guarantee the problem is resolved.
Identify Loose Fasteners
One of the most common causes of wobbly heels is loose fasteners, which can greatly influence your shoe’s stability. To effectively conduct a wobble evaluation, you need to identify any loose fasteners. Here’s how:
- Inspect the Heel: Check the heel structure for movement. If it shifts or feels unstable, fasteners may be loose.
- Identify Fastener Types: Look for screws, nails, or rivets holding the heel in place. Each type requires a different approach for tightening.
- Check Stability: After identifying, press down on the heel while evaluating its stability. If it wobbles considerably, it’s a sign that those fasteners need attention.
Use Correct Tools
To effectively tighten loose screws or fasteners, it’s essential to use the correct tools for the job. Common tool types include screwdrivers, pliers, and wrenches, depending on the fastener’s design. A flathead or Phillips screwdriver can secure screws, while pliers might be needed for nuts or bolts. Before starting, verify your tools are in good condition—this means checking for rust, wear, or damage. Proper tool maintenance will enhance their effectiveness and longevity, so clean them regularly and store them properly. Once you have the right tools ready, carefully tighten each fastener without overtightening, which could cause damage. This attention to detail will help maintain a stable heel and prolong the life of your footwear.
Check Heel Stability
After ensuring you have the right tools, it’s time to check the stability of your heels. Begin with a thorough inspection of the heel design to identify any loose screws or fasteners that may affect performance. Here’s how to proceed with stability testing:
- Visual Inspection: Look for any gaps between the heel and the shoe.
- Tighten Fasteners: Using your screwdriver, gently tighten all visible screws; don’t overdo it to avoid stripping.
- Test Stability: Gently wiggle the heel—if it moves, repeat the tightening process until secure.
Use Shoe Glue for Stability
If you’ve noticed that your heels feel wobbly, using shoe glue can be an effective solution to restore stability. Start by selecting the right shoe glue types; polyurethane and cyanoacrylate glues are ideal for shoe repairs due to their strong bonding capabilities. Clean the area around the heel to remove dirt and old adhesive. Apply the glue using a precision applicator or a small brush for accuracy, ensuring you cover the joint thoroughly. Press the heel firmly against the shoe, aligning it correctly, and hold it in place for a few minutes to allow the bond to set. For best results, let it cure for at least 24 hours before wearing the shoes again. If needed, you can apply a second layer of glue for additional strength. By following these application techniques, you’ll reinforce your heels effectively, preventing further wobbling.
Reinforce With Duct Tape

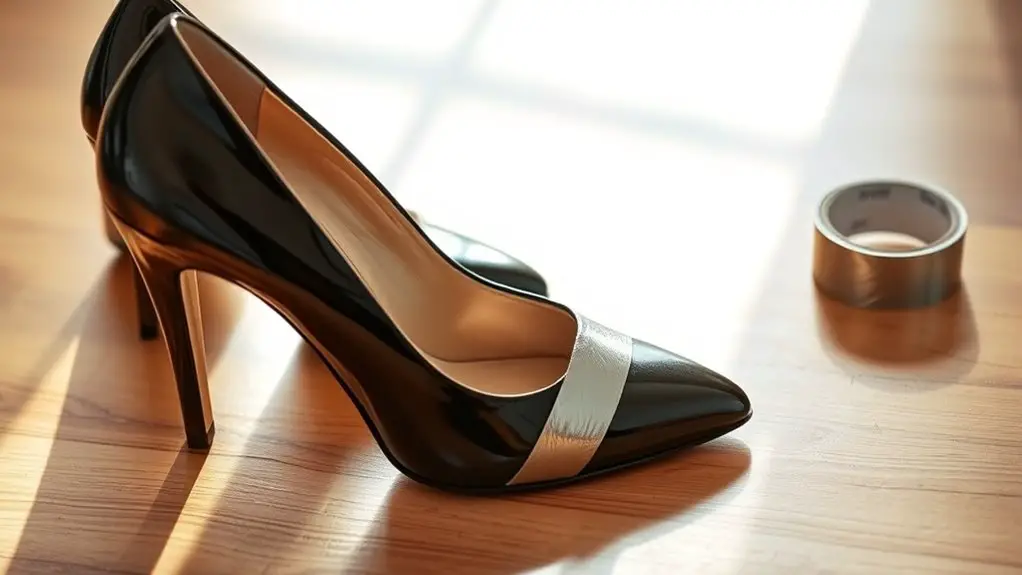
Shoe glue can effectively stabilize wobbly heels, but for a quick and temporary fix, duct tape offers an easy alternative. Duct tape applications can provide the necessary support to keep your heels sturdy until you can implement a more permanent solution. Here’s how to reinforce your heels using duct tape:
- Clean the Area: Verify the heel and surrounding surface are free of dirt and dust for better adhesion.
- Cut the Tape: Measure and cut a piece of duct tape long enough to wrap around the heel base. It should cover any unstable areas.
- Wrap Securely: Firmly wrap the tape around the heel, ensuring it’s snug but not overly tight. This will help stabilize the heel structure.
Using duct tape for temporary fixes is a practical way to manage wobbly heels, allowing you to maintain comfort and safety while you seek a long-term repair.
Add Heel Caps for Extra Support
Adding heel caps can greatly enhance the stability of your shoes, providing essential support to prevent wobbling. These accessories not only improve balance but also protect the heel from wear and tear. In the following sections, you’ll learn installation tips and tricks to guarantee a secure fit.
Benefits of Heel Caps
While wobbly heels can compromise your stability and comfort, adding heel caps can greatly enhance support and balance. Here are three key heel cap benefits you should consider:
- Improved Stability: Heel caps provide a broader base, reducing the risk of tipping over and improving your overall balance during movement.
- Shock Absorption: Many heel caps are designed with materials that absorb impact, decreasing stress on your feet, joints, and lower back.
- Durability: By reinforcing the heel area, caps can prolong the lifespan of your shoes, minimizing wear and tear that contributes to instability.
Incorporating heel caps into your footwear can lead to a more secure and comfortable walking experience, making them a practical solution for wobbly heels.
Installation Tips and Tricks
To make sure your heel caps are installed correctly for maximum support, start by thoroughly cleaning the heel area of your shoes. Use rubbing alcohol or soap and water to remove dirt and old adhesive. Once dry, choose the right heel caps based on your shoe type. For installation, apply a strong adhesive to both the heel and the cap. Press firmly for a few seconds to secure a tight bond. You may want to use clamps or weights to hold the cap in place as the glue dries, following the manufacturer’s instructions for curing time. Remember, proper installation techniques can enhance the effectiveness of your DIY repairs, making certain your shoes provide the stability you need.
Use Insoles for Weight Distribution

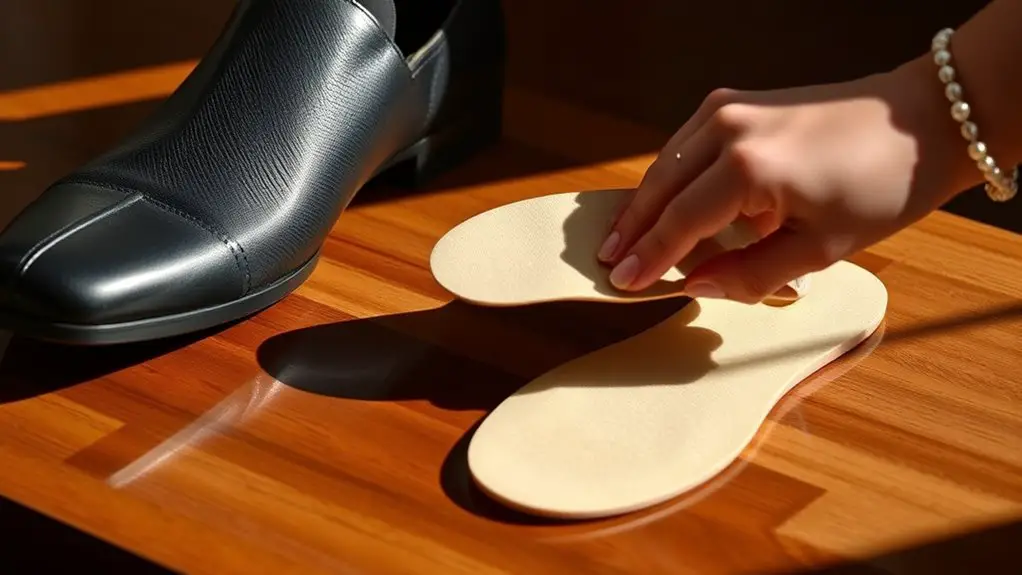
If you’re struggling with wobbly heels, using insoles can greatly improve weight distribution and enhance stability. Selecting the right insole types is essential for achieving the best results. Here are three options to take into account:
- Arch Support Insoles: These provide support for your foot’s arch, distributing weight evenly and reducing pressure on your heels.
- Gel Insoles: These absorb shock and provide cushioning, helping to stabilize your feet while walking or standing.
- Orthotic Insoles: Custom-made or over-the-counter options can correct alignment issues, ensuring your weight is distributed properly across the foot.
Replace Worn-Out Heels
Over time, heels can wear down, leading to instability and discomfort. If you notice uneven wear or damage, it’s essential to contemplate replacing the worn heel materials. Start by identifying the type of material your heels are made from—common options include rubber, wood, or plastic. Each material has specific replacement options; for instance, rubber heels can be easily replaced with new rubber caps available at most shoe repair stores.
To proceed, remove the damaged heel by prying it off carefully. Clean the area thoroughly to guarantee a solid bond for the new heel. Select a replacement that matches the original height and shape to maintain your shoe’s balance. Attach the new heel using a strong adhesive or nails, depending on the material. Allow it to cure as per the manufacturer’s instructions. This straightforward process can restore stability and extend the life of your favorite pairs.
Test and Adjust for Comfort
After replacing worn-out heels, it’s important to test and adjust for comfort to confirm your shoes feel stable and supportive. Start your comfort assessment by following these steps:
- Walk Test: Take a few laps around your home. Pay attention to any discomfort or instability. Make note of any specific areas causing issues.
- Pressure Points: Check for pressure points by pressing down on various areas of the shoe. If you feel excessive pressure, you may need to adjust the fit.
- Insole Adjustment: Consider using cushioned insoles or arch supports. They can help distribute weight more evenly and improve overall comfort.
Utilizing these adjustment techniques guarantees that your shoes not only fit well but also provide the comfort required for prolonged wear. Regular assessments after adjustments can help maintain ideal comfort and support.
Prevent Future Wobbliness
To prevent future wobbliness in your heels, it’s essential to regularly inspect and maintain the footwear’s structural integrity. Start by examining the heel for signs of wear, such as cracks or looseness. During your regular inspections, check the attachment points where the heel meets the shoe; if they appear compromised, consider re-gluing or reinforcing them.
Incorporate preventative maintenance into your routine by cleaning and conditioning your shoes. Dirt and moisture can weaken materials, so wipe them down after wear and use appropriate products to protect them. Additionally, avoid extreme conditions that can warp or damage the heel, like walking on uneven surfaces or exposing them to excessive water.
Lastly, store your heels properly, using shoe trees to maintain their shape. By following these steps, you can greatly reduce the chances of future wobbly heels, ensuring a more stable and comfortable experience.
Frequently Asked Questions
Can I Fix Wobbly Heels on Any Type of Shoe?
You can fix wobbly heels on various shoe types using different repair techniques. For instance, wooden heels might require glue, while rubber soles could need tightening. Assess each shoe’s material for the most effective solution.
How Do I Know if My Shoes Are Beyond Repair?
To evaluate your shoes, inspect for significant structural damage, such as worn-out soles or detached parts. If repair options are limited and costs exceed shoe value, they’re likely beyond repair and need replacement.
Is It Safe to Wear Wobbly Heels Temporarily?
Wearing wobbly heels is like driving a car with a loose wheel; it’s risky. While temporary solutions exist, they often compromise heel stability. For safety, consider alternative footwear until proper repairs are made.
What if My Shoe Glue Doesn’t Hold?
If your shoe glue doesn’t hold, consider exploring various shoe repair techniques. Alternative adhesives like cyanoacrylate or polyurethane can provide stronger bonds, ensuring your footwear remains stable and safe for use. Always test before applying widely.
How Can I Prevent Wobbly Heels in New Shoes?
You’d think choosing new shoes wouldn’t involve a science experiment, but it does! Opt for sturdy heel materials and pay attention to shoe selection; these steps minimize the chance of wobbly heels ruining your day.
