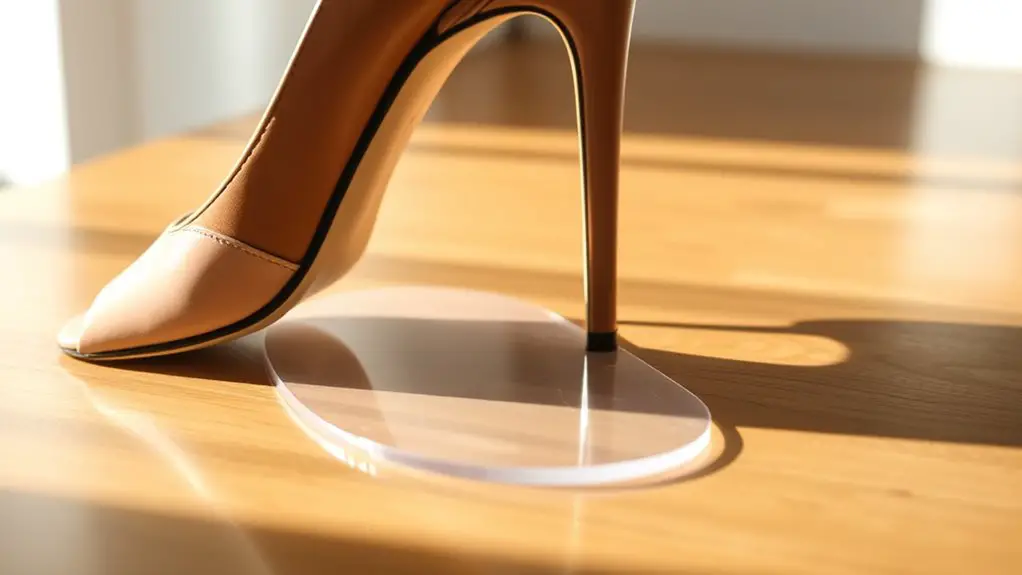
To protect your favorite heels from wear and tear, DIY heel protectors are a game changer! Grab some rubber sheets or adhesive felt strips, scissors, and a measuring tape. Clean your heels before applying the protectors for a secure fit. Make sure they match your shoe style for extra flair. With a little maintenance, you’ll keep those heels looking fresh and fabulous. Stick around, and you’ll discover even more creative ways to elevate your shoe care routine!
Understanding the Importance of Heel Protection

When it comes to footwear, protecting your heels is often overlooked, but it shouldn’t be. You might not realize it, but those little points of contact with the ground take a beating. The importance of heel protection can’t be stressed enough; it’s essential for maintaining the shape and quality of your favorite shoes. By investing a little effort into safeguarding those heels, you can considerably extend the life of your footwear.
Preventing shoe damage starts with simple awareness. Every time you step onto a rough surface, your heels are at risk. Think about how many times you’ve worn a pair of heels only to find them scuffed or worn down. A few proactive measures can save you money and heartache later on. So, whether you’re rocking stilettos or chic flats, make heel protection a priority—you’ll thank yourself later when your shoes look as fabulous as the day you bought them!
Materials Needed for DIY Heel Protectors
Ready to get started on your DIY heel protectors? You’ll need some essential materials and tools to make the process smooth and fun. Let’s break down what you’ll require to keep those heels looking fabulous and intact!
Essential Materials Overview
Creating your own heel protectors can be a fun and rewarding project, but you’ll need the right materials to get started. Choosing the right material types is essential for ensuring durability factors that will keep your heels in top shape. Here are three must-have items:
- Rubber sheets – These provide excellent grip and resilience against wear and tear.
- Adhesive – A strong, waterproof adhesive is vital for securing your protectors firmly in place.
- Scissors – Sharp scissors will help you achieve clean, precise cuts for a polished finish.
With these materials in hand, you’re ready to craft some stylish and effective heel protectors that’ll not only enhance your shoes but also prolong their lifespan. Happy crafting!
Tools for Assembly
To assemble your DIY heel protectors, you’ll need a few key tools that make the process smooth and efficient. First off, grab a sturdy pair of scissors for cutting your materials with precision. You’ll also want a strong adhesive or glue gun for solid bonding, ensuring your protectors stick around. A measuring tape is essential for accurate sizing, while a pencil can help mark your cuts. For assembly techniques, consider a craft knife for detailed edges. Finally, a cutting mat will protect your workspace and keep everything tidy. With the right tool selection, you’ll breeze through the assembly, creating reliable heel protectors that’ll save your favorite shoes from wear and tear. Let’s get crafting!
Method 1: Using Rubber Pads

When it comes to protecting your heels, choosing the right rubber pads is key to keeping your favorite shoes in top shape. You’ll want to think about the material’s durability and grip to guarantee they last. Let’s break down some easy application techniques so you can get started on this DIY project!
Choosing the Right Material
While you might think all heel protectors are the same, choosing the right material can make a significant difference in comfort and durability. Rubber pads are a fantastic option, offering excellent material durability and various aesthetic options. Here are some things to evaluate when selecting rubber pads:
- Thickness: Thicker pads provide more cushioning but can alter the shoe’s fit.
- Texture: Look for textured pads for better grip and stability when walking.
- Color: Choose colors that match your shoes for a cohesive look or go bold for a fun pop.
Application Techniques Explained
Now that you’ve picked the perfect rubber pads, it’s time to get them onto your heels. Mastering these application techniques will guarantee your pads stick securely and provide maximum protection. Here’s a quick guide to help you achieve application precision:
| Step | Description |
|---|---|
| Clean | Wipe the heel to remove dirt. |
| Measure | Position the pad for the best fit. |
| Peel | Remove the adhesive backing carefully. |
| Stick | Firmly press the pad onto the heel. |
| Cure | Allow it to set for 24 hours. |
Method 2: Adhesive Felt Strips
One simple way to protect your heels is by using adhesive felt strips. These strips not only have excellent adhesive properties, ensuring they stick securely, but they also boast impressive felt durability, making them a smart choice for long-term wear. Here’s how you can get started:
- Choose the Right Size: Measure your heel and cut the felt strips to fit perfectly.
- Clean the Surface: Make sure the heel is clean and dry so the adhesive can bond effectively.
- Apply with Care: Peel off the backing and press the felt strip firmly onto your heel, smoothing out any bubbles.
Not only will these felt strips shield your heels from wear and tear, but they’ll also provide extra grip on slippery surfaces. Plus, they’re super easy to replace when worn out, making them a stylish yet practical choice for any shoe lover!
Method 3: Silicone Gel Covers
Silicone gel covers are a game-changer when it comes to heel protection. These nifty accessories offer incredible silicone benefits that elevate your shoe game while extending the life of your heels. The soft gel material molds perfectly to the shape of your heel, providing a snug fit that absorbs shock and reduces wear and tear. You’ll love how they effortlessly blend into your footwear, making them a stylish yet practical addition.
One of the standout features is gel durability—these covers can withstand the rigors of daily wear without losing their effectiveness. Whether you’re hitting the pavement or strutting on the dance floor, silicone gel covers keep your heels safe and sound. Plus, they’re super easy to apply and remove, meaning you can switch them out with ease. Invest in these covers, and you’ll not only protect your heels but also keep looking fabulous while doing it!
Method 4: DIY Leather Caps
If you’re looking for a more robust solution for heel protection, DIY leather caps might just be your answer. These caps not only shield your heels from wear and tear but also add a touch of style. Plus, you can customize them to match your vibe! Here’s what you’ll need to get started:
Discover a stylish and durable solution for heel protection with DIY leather caps that you can customize to match your unique vibe!
- Leather Types: Choose durable options like full-grain or suede for longevity and aesthetics.
- Cap Designs: Sketch out your design preferences—think sleek, bold, or even textured finishes.
- Tools: Gather scissors, strong adhesive, and a craft knife for precise cuts.
Once you’ve got your materials, cut the leather into your desired shapes, adhere them to the heels, and voilà! You’ve created stylish, protective caps that’ll keep your favorite shoes looking fresh. Enjoy your new protective accessory while stepping out in confidence!
Tips for Maintaining Your DIY Heel Protectors
While DIY heel protectors can add flair to your footwear, keeping them in top shape is crucial for both style and durability. Start with preventive maintenance; regularly clean them with a damp cloth and mild soap to remove dirt and grime. This simple step can extend their life considerably.
Don’t forget to conduct regular inspections! Check for any signs of wear, like cracks or peeling, and address issues immediately. If you notice any damage, consider reapplying adhesive or sealing edges to keep them intact.
Another tip? Rotate your shoes! Giving each pair a break can prevent excessive wear on your heel protectors. Finally, store your shoes in a cool, dry place to avoid warping or degrading materials. By following these tips, you’ll guarantee your DIY heel protectors not only look fab but also perform their best, keeping your favorite heels in top condition!
Frequently Asked Questions
Can I Use DIY Heel Protectors on Any Type of Shoe?
You can use DIY heel protectors on various shoe types, like heels, flats, or boots. Just make certain you’re choosing the right protector materials—like silicone or rubber—to match your shoe’s style and purpose. Get creative!
How Long Do DIY Heel Protectors Typically Last?
DIY heel protectors typically last several months, depending on durability factors like materials and usage. To extend their lifespan, consider maintenance tips like regular cleaning and avoiding rough surfaces. Treat them right, and they’ll serve you well!
Are There Specific Shoe Materials That Need Special Care?
Leather shoes need conditioning to maintain their luster, while fabric shoes often require gentle cleaning to avoid damage. Keeping both types in great shape means you’ll enjoy them longer, stylishly stepping out with confidence!
Will DIY Heel Protectors Affect the Shoe’s Appearance?
When you add DIY heel protectors, you might worry about appearance modifications. Don’t stress! With thoughtful aesthetic considerations, they can blend seamlessly, enhancing your shoes’ look while keeping them pristine and ready for any occasion.
Can I Wash My DIY Heel Protectors?
Absolutely, you can wash your DIY heel protectors! Just use gentle cleaning methods, like mild soap and water. For drying techniques, air dry them away from heat to maintain their shape and durability. You’ve got this!
