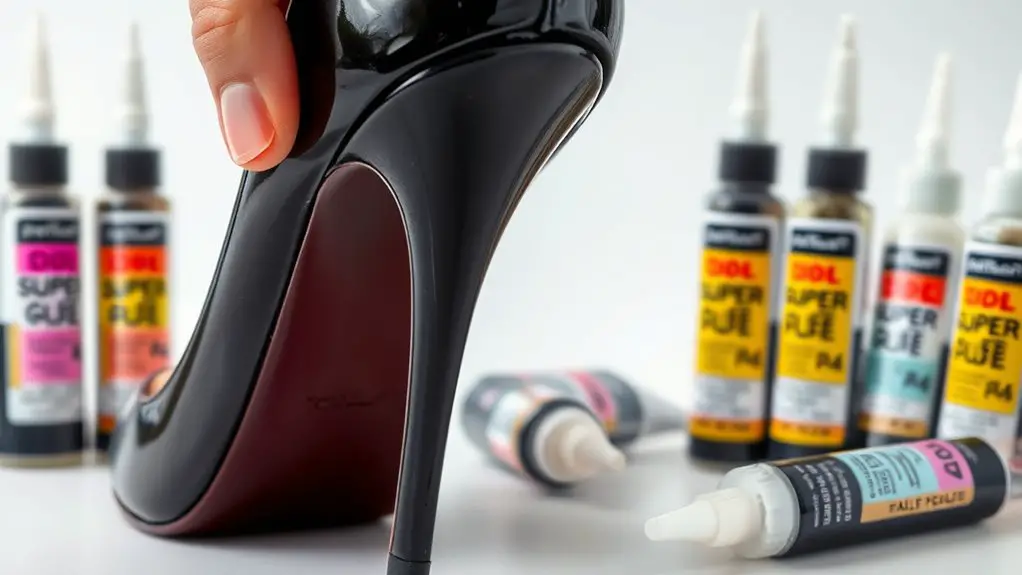
When fixing a snapped heel, the best superglue options are cyanoacrylate or polyurethane adhesives. Cyanoacrylate creates a strong bond quickly, ideal for rigid materials, while polyurethane offers flexibility and water resistance. Brands like Gorilla and Loctite provide reliable formulations. Be sure to prepare surfaces by cleaning them thoroughly and applying glue evenly. Allow adequate curing time for the best results. With careful attention to detail, you’ll guarantee a successful repair. Discover more about this process for lasting results.
Understanding the Importance of Using the Right Adhesive
When it comes to fixing a heel, choosing the right adhesive is vital for achieving a durable and lasting repair. You’ll encounter various adhesive types, each designed for specific materials and conditions. For instance, cyanoacrylate superglue bonds quickly and is ideal for non-porous surfaces, while polyurethane adhesives offer flexibility and water resistance, making them suitable for shoe repairs that endure stress.
Understanding these adhesive types helps you select the best option for your shoe’s material, whether leather, plastic, or rubber. Employing proper repair techniques also plays an important role. Clean the surfaces thoroughly before applying adhesive to guarantee the best bonding. Use clamps or weights to hold the pieces together during curing, which enhances the strength of the repair. By combining the right adhesive with effective techniques, you’ll make sure that your heel repair withstands daily wear and tear, extending the life of your footwear considerably.
Key Features to Look for in Shoe Repair Superglue
When choosing superglue for shoe repair, you need to take into account bond strength and drying time. A strong bond guarantees your heel stays intact under pressure, while appropriate drying time affects your ability to use the shoe soon after application. Focusing on these features will help you select the right adhesive for effective repairs.
Bond Strength Importance
While you might think all superglues are created equal, the bond strength is a critical factor that can make or break your shoe repair project. When selecting a superglue, focus on bond durability; this guarantees the repair withstands daily wear and tear. Different adhesive types, such as cyanoacrylate or polyurethane, offer varying levels of strength and flexibility. Cyanoacrylate provides a quick-setting and robust bond, ideal for rigid materials, while polyurethane can accommodate movement, which is beneficial for flexible shoe components. Always check the manufacturer’s specifications for maximum bond strength and any recommended materials. A strong adhesive not only secures the heel effectively but also prolongs the life of your shoes, making it vital for a successful repair.
Drying Time Considerations
Drying time is an essential factor to take into account when choosing a superglue for shoe repair. You’ll want a product that cures quickly, allowing you to resume wearing your shoes without delay. Different drying techniques, such as moisture activation or heat application, can greatly influence drying time. For instance, applying heat can accelerate curing, but be cautious of temperature effects on the adhesive’s performance—extreme heat may weaken the bond. Ideally, select a superglue that specifies a fast initial tack and a full cure time that matches your needs. Always follow the manufacturer’s recommendations for best results, ensuring a strong repair without unnecessary waiting. Remember, proper preparation and conditions can enhance drying efficiency.
Top Superglue Brands for Shoe Repairs
Have you ever wondered which superglue brands are best for shoe repairs? When it comes to fixing a snapped heel, not all superglues are created equal. Among the top superglue brands, Loctite and Gorilla Super Glue stand out. Loctite’s precision tip allows for targeted application, ensuring a clean fix without excess mess. Gorilla Super Glue, known for its strong bond and versatility, works well on various materials, including leather and rubber.
In superglue comparisons, you’ll find that both brands offer fast-drying formulas, but Gorilla tends to have a slightly longer open time, giving you a bit more flexibility during application. For a more specialized option, consider Shoe Goo, which is specifically designed for footwear repairs and provides a flexible, waterproof bond. Ultimately, your choice will depend on the materials of your shoe and the specific repair needs, but these brands are a solid starting point for effective shoe repairs.
How to Properly Prepare Your Shoes for Repair
Before you start gluing your shoe’s heel, it’s essential to prepare the area properly to guarantee a strong bond. Begin by cleaning the surfaces of both the heel and the shoe with rubbing alcohol to remove dirt and oils. Next, make sure that the pieces fit together snugly. If they don’t, trim any excess material carefully. Finally, gather your materials and read the adhesive safety precautions on the label to avoid accidents.
| Step | Action | Emotional Impact |
|---|---|---|
| 1. Clean Surface | Use rubbing alcohol | Feel confident in prep |
| 2. Check Fit | Ensure snug alignment | Sense of control |
| 3. Gather Materials | Assemble tools and glue | Prepared for success |
| 4. Read Instructions | Familiarize with adhesive precautions | Safety first mindset |
| 5. Prepare Workspace | Clear a clean, organized area | Stress-free environment |
These shoe maintenance tips will set you up for a successful repair.
Step-by-Step Guide to Fixing a Snapped Heel
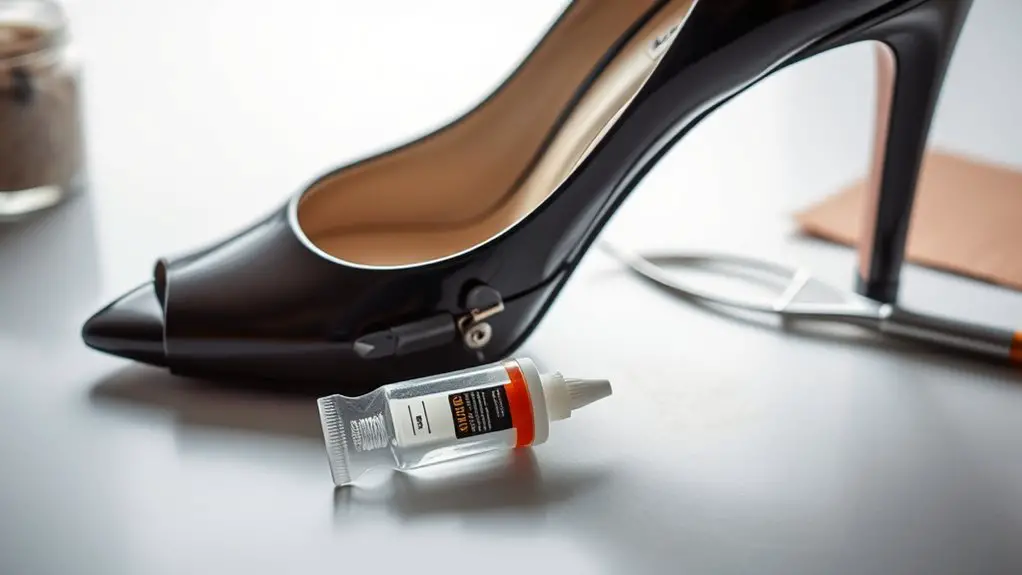
To fix a snapped heel, you’ll need to gather the necessary materials first, including superglue and a clean cloth. Next, prepare the broken heel by guaranteeing both surfaces are clean and free from debris. Finally, apply the superglue effectively to secure a strong bond and restore your shoe’s functionality.
Gather Necessary Materials
Fixing a snapped heel requires a few essential materials to guarantee a strong and durable repair. Start by gathering tools and checking your material checklist. Here’s what you’ll need:
| Item | Purpose | Notes |
|---|---|---|
| Superglue | Bond the heel back together | Choose a strong, quick-drying type |
| Sandpaper | Smooth the surfaces | Fine-grit works best |
| Clamps | Hold pieces in place while drying | Ensure even pressure |
| Clean Cloth | Wipe excess glue | Keep surfaces clean |
Having these materials on hand will streamline the repair process and guarantee you achieve the best results. Make certain to gather everything before you start the next steps.
Prepare the Broken Heel
Start by inspecting the broken heel to assess the damage and determine the best approach for repair. Different heel types, such as stiletto or block, may require specific techniques. If the break is clean, you’ll have an easier time with the repair. Gather essential repair tools, including a small file or sandpaper to smooth the edges of the broken heel. This will guarantee a better bond when you apply the superglue later. Clean both surfaces thoroughly to remove any dirt or debris, as this can affect adhesion. If necessary, you can also use a toothpick or a small brush to apply cleaning solutions. Proper preparation is vital for achieving a long-lasting fix, so take your time with this step.
Apply Superglue Effectively
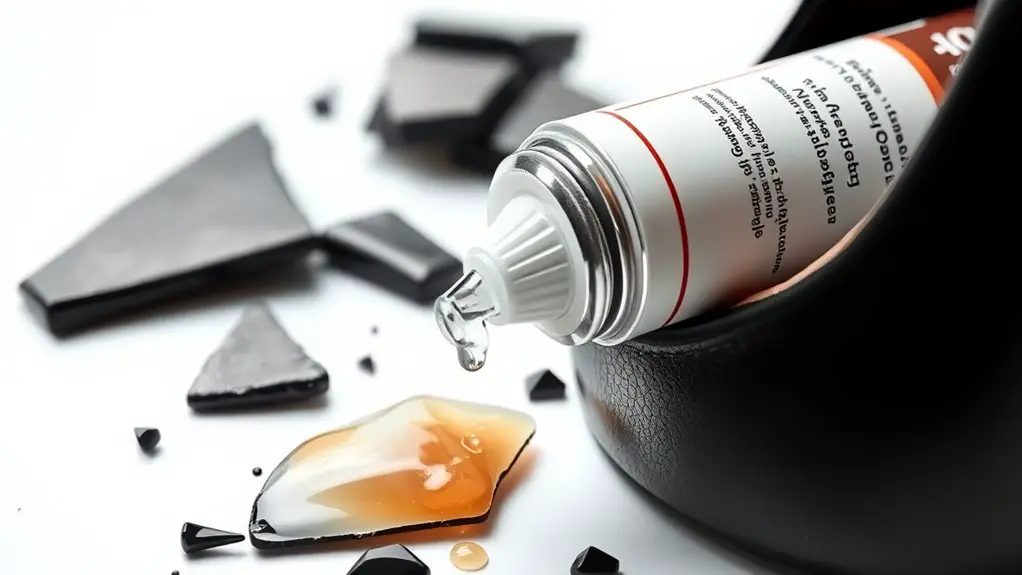
Once you’ve prepared the broken heel, it’s crucial to apply the superglue correctly for a durable repair. Start by selecting the appropriate superglue type; cyanoacrylate is typically the best choice for shoe repairs. Confirm the surfaces are clean and dry, then apply a thin layer of superglue to one side of the break. Press the pieces together firmly for at least 30 seconds, allowing the adhesive to bond properly. Use clamps or rubber bands for added pressure if necessary. Be mindful of adhesive safety; work in a well-ventilated area and avoid skin contact. Finally, allow the glue to cure fully according to the manufacturer’s instructions before using the heel again for ideal results.
Tips for Achieving a Strong Bond With Superglue
To achieve a strong bond with superglue, it’s essential to prepare both the surfaces you’re bonding properly. Start by cleaning the surfaces to remove any dirt, grease, or moisture, as contaminants can weaken the bond. Choose the right superglue types; cyanoacrylate is commonly used for quick bonding, while flexible superglues offer more durability for shoe repairs.
Next, apply the glue in a thin, even layer to avoid excess that could lead to weak spots. Use bonding techniques like clamping or holding the pieces together firmly for at least 30 seconds to guarantee a proper set. If possible, consider roughening the surfaces slightly with sandpaper; this increases the area for the glue to adhere to. Finally, allow adequate curing time as indicated on the product’s label before subjecting your repair to stress. Following these tips can help guarantee a lasting, strong bond.
Common Mistakes to Avoid When Using Superglue
When using superglue, avoiding common mistakes can greatly enhance your repair results. Make certain you properly prepare the surface, apply the right amount of glue, and respect the drying time for best bonding. Neglecting these factors can lead to weak repairs and frustration.
Improper Surface Preparation
Improper surface preparation can greatly undermine the effectiveness of superglue, leading to weak bonds and unsatisfactory repairs. One of the most critical aspects is guaranteeing surface cleanliness; any dust, grease, or moisture can considerably hinder adhesion. Before applying superglue, make certain to clean the surfaces thoroughly with isopropyl alcohol or soap and water, then dry completely. Additionally, consider adhesive compatibility—different materials may require specific types of superglue. For instance, plastic, metal, and wood each have unique bonding properties. Using the wrong adhesive can result in failure. Always check the manufacturer’s recommendations to guarantee the superglue you choose is suitable for the surfaces you’re working with, maximizing the strength and longevity of your repair.
Excessive Glue Application
While it may seem counterintuitive, using too much superglue can actually weaken your repair. Excessive application leads to glue overflow, which not only creates a messy look but also compromises the bond’s strength. When too much adhesive is applied, it can form a thick layer that takes longer to cure, resulting in reduced durability. Furthermore, an excess of superglue can seep into areas where it’s not needed, causing potential damage to the shoe materials. Instead, use a small amount—just enough to cover the broken surfaces evenly. This guarantees a strong bond while avoiding the pitfalls of glue overflow. Remember, precision is key for a successful heel repair.
Ignoring Drying Time
Neglecting the drying time of superglue is another common mistake that can undermine your heel repair. When you rush the process by ignoring drying, you risk compromising the adhesive properties necessary for a strong bond. Superglue typically requires a few seconds to set and can take up to 24 hours to fully cure, depending on the formulation. If you attempt to use the shoe before this time, you may disrupt the bond, leading to a weaker repair or complete failure. Always adhere to the manufacturer’s guidelines regarding drying time to guarantee ideal results. Remember, patience is key; allowing the glue to dry properly will enhance its effectiveness and longevity.
Long-Term Care for Repaired Shoes
To guarantee your repaired shoes last as long as possible, it’s essential to implement a consistent care routine. Regular shoe maintenance helps extend the life of your repairs and guarantees your footwear remains in good condition. Here’s a quick reference guide to help you maintain your shoes effectively:
| Maintenance Task | Frequency |
|---|---|
| Clean with a damp cloth | After each use |
| Apply conditioner | Monthly |
| Inspect for wear | Weekly |
Incorporating these simple repair techniques into your routine can prevent further damage. Avoid exposing your shoes to extreme temperatures or moisture, as this can compromise the adhesive used in your repairs. Store your shoes properly, using shoe trees or boxes to maintain their shape. By following these guidelines, you’ll guarantee your repaired shoes not only look great but also stand the test of time.
Alternative Repair Solutions for Shoe Heels
If you’ve encountered a heel issue that superglue can’t adequately resolve, exploring alternative repair solutions is vital for restoring your footwear’s functionality. One effective shoe repair alternative is using epoxy resin, which offers a stronger bond and durability compared to standard adhesives. For DIY shoe fixes involving detached heels, consider using a two-part adhesive designed specifically for shoe materials.
If the heel’s structure is compromised, you might opt for heel caps or replacement heels available at craft stores. These can be easily attached with strong adhesives or screws, depending on the design. Additionally, shoe repair kits often include various tools and materials that can assist in making effective repairs.
When attempting these alternatives, confirm the shoe’s surface is clean and dry to promote adhesion. With the right materials and techniques, you can successfully restore your shoes without relying solely on superglue.
When to Seek Professional Help for Shoe Repairs
While some shoe repairs can be handled at home, there are instances when seeking professional help is the best option. If you’re unsure about when to DIY, consider the complexity of the damage. For instance, a snapped heel might seem fixable with superglue, but if the shoe’s structure or materials are compromised, a professional assessment is vital.
Additionally, if your shoes are made from high-end materials like leather or suede, a skilled cobbler can guarantee the repair maintains the integrity and appearance of your footwear. Other signs to seek help include persistent issues after your DIY attempts or when you lack the right tools and adhesives.
Ultimately, don’t hesitate to consult a professional if the repair exceeds your skill level or if you’re dealing with sentimental or valuable shoes. Investing in expert care can prolong the lifespan of your footwear.
Frequently Asked Questions
Can Superglue Be Used on All Types of Shoe Materials?
Superglue isn’t universally compatible with all shoe materials. While it excels on plastic and rubber, its adhesive strength comparison with other options might be limited on leather or fabric. Always check material compatibility before applying.
How Long Does Superglue Take to Fully Cure?
Like watching paint dry, superglue’s cure time varies. Generally, it takes about 24 hours to fully cure, but drying factors such as humidity and temperature can greatly influence this duration. Patience is key for best results.
Is Superglue Waterproof After Drying?
Superglue isn’t completely waterproof after drying, but it offers decent durability against moisture. For ideal waterproofing, consider using specialized waterproof adhesives designed for more demanding applications, ensuring stronger resistance to water exposure in various conditions.
Can I Use Superglue on Other Shoe Repairs?
You might be surprised, but superglue’s versatility extends beyond heels. For shoe repair tips, consider its strength for minor fixes, though adhesive alternatives might better suit larger issues. Always assess the damage before choosing your solution.
What Safety Precautions Should I Take When Using Superglue?
When using superglue, you should wear gloves to prevent skin contact and guarantee proper ventilation to avoid inhaling fumes. Always work in a well-ventilated area to minimize potential health risks associated with strong adhesives.