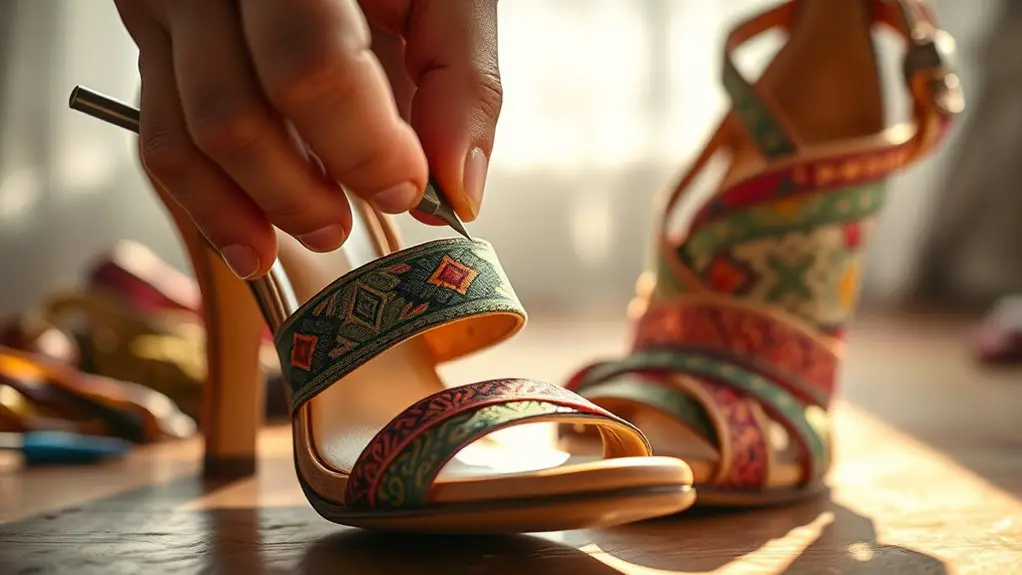
Turn your old heels into chic sandals with a few simple steps! First, assess your heels for comfort and style, then gather sturdy straps, glue, and essential tools. Next, carefully remove the heels and start designing your new look with playful accents and colors that reflect your vibe. Assemble the straps securely, and don’t forget those finishing touches for a polished appearance. There’s so much more to this creative transformation journey, so let’s keep going!
Assessing Your Old Heels

Before diving into the fun of transforming your old heels into chic sandals, it’s essential to take a good look at what you’ve got. Start by gauging comfort—slip them on and see how they feel. Are those straps digging in or does the sole still have some bounce? Comfort is key, especially if you want to rock your revamped sandals all day long.
Next, you’ll want to evaluate style. Look for unique details like embellishments or patterns that can shine in their new life. Are the colors still vibrant, or do they need a little refresh? Picture how they’ll look as sandals—do they still fit your vibe? This is your time to shine, so don’t rush! Embrace the process of gauging comfort and evaluating style, and you’ll be well on your way to creating stunning sandals that’ll turn heads.
Gathering Your Materials
Before you start transforming those old heels into fabulous sandals, you’ll want to gather some essential tools and materials. Think about the right heels to use—those that have potential for a stylish makeover. Grab some sturdy straps, glue, and a bit of creativity, and you’re ready to get crafting!
Essential Tools Required
Gathering the right tools is key to transforming your old heels into stylish sandals, and luckily, you won’t need a toolbox full of fancy gadgets. Start with essential tools like a sturdy pair of scissors for cutting straps and a hot glue gun for securing any loose elements. You’ll also want a needle and thread for reinforcement and a pair of pliers to help with hardware adjustments. A measuring tape is vital for ensuring everything’s perfectly sized. Don’t forget to grab some sandpaper to smooth out any rough edges. With these tool types in hand, you’re ready to release your creativity and give those old heels a fabulous new life. Let’s get crafting!
Choosing the Right Heels
Now that you’ve got your tools ready, it’s time to select the perfect pair of heels for your sandal makeover. Consider various heel types—stilettos, block heels, or wedges—each offers a unique vibe. For a chic summer look, lightweight wedge heels can be a game changer. Don’t forget comfort factors; you want to strut your stuff without wincing in pain! Look for heels with cushioned insoles or adjustable straps to guarantee those sandals feel as good as they look. Visualize how the heel height and style will evolve into an open-toe masterpiece. As you browse your collection, pick heels that inspire you and match your personality. Let your creativity flow and get ready to breathe new life into those old favorites!
Materials for Sandal Creation
To kick off your sandal transformation, you’ll need to gather some essential materials that’ll make your DIY project a success. Start with eco-friendly materials like jute, cork, or recycled rubber for a sustainable base. These options not only look great but also help the planet! Next, select some trendy fabric options to add flair—think vibrant canvas, soft leather, or even upcycled denim. Grab your scissors, glue, and a sturdy sewing kit, too. You’ll also want some decorative elements like beads or fringe to elevate your design. With these materials in hand, you’re ready to release your creativity and transform those old heels into stylish sandals that’ll turn heads! Let’s get crafting!
Removing the Heels
Grab your trusty tools because it’s time to say goodbye to those old heels! Start by laying your shoe flat on a sturdy surface. You’ll need a pair of pliers and possibly a screwdriver, depending on how your heel is attached. Begin by gently prying the heel away from the sole—this is the key moment of disassembling your shoe. If there are any screws, remove them carefully to avoid damaging the shoe’s structure.
As you’re removing the heel, take your time. You want to keep the base intact for your stylish sandal transformation. Don’t rush it! Once the heel is off, check for any leftover glue or attachments and clean them up. It’s all about creating a smooth canvas for your new design. With the heels removed, you’re one step closer to rocking those chic sandals you’ve envisioned!
Designing Your Sandals

Now that you’ve removed the heels, it’s time to get creative with your sandals! Think about your design style—are you feeling boho chic or sleek and modern? Grab some fun materials and colors, and don’t forget to add those unique embellishments that’ll make your sandals truly one-of-a-kind!
Choosing Your Design Style
As you plunge into transforming those old heels into stylish sandals, consider the design style that resonates with your personal flair. Whether you lean towards modern aesthetics or vintage flair, your choices will define the vibe of your new sandals.
| Style | Features | Vibe |
|---|---|---|
| Modern | Clean lines, minimalism | Chic & sleek |
| Vintage | Retro patterns, embellishments | Romantic & nostalgic |
| Bohemian | Textures, earthy tones | Free-spirited |
| Sporty | Functional, bold colors | Casual & fun |
Pick a style that speaks to you! Each option offers a unique way to express yourself while giving your heels a fresh, fashionable twist. Your sandals can become a true representation of your personality!
Selecting Materials and Colors
When it comes to selecting materials and colors for your revamped sandals, think of it as crafting a canvas that reflects your unique style. Start by choosing a color palette that speaks to you—consider bold color combinations like vibrant fuchsia paired with soft pastels, or classic neutrals that can elevate any outfit.
Next, play with material textures to add depth and interest. Soft suede can contrast beautifully with shiny leather, while woven fabrics can bring a boho vibe to your design. Don’t shy away from mixing materials; it creates a stunning visual impact. Remember, your sandals should not only be a statement piece but also comfortable enough for everyday wear. Let your creativity shine through every selection you make!
Adding Unique Embellishments
Your selected materials and colors set the perfect stage for adding unique embellishments that can truly elevate your sandals. Think about your bead selection—mix vibrant hues and textures to catch the eye. Delicate pearls or bold wooden beads can create stunning focal points. Next, consider your fabric choices; lightweight lace or colorful ribbons can add a playful touch.
You might even layer different fabrics for a boho-chic vibe. Use hot glue or a needle and thread to securely attach your embellishments, ensuring they’ll withstand wear. Don’t be afraid to experiment! This is your chance to showcase your personal style. With just a few creative touches, your revamped sandals will not only stand out but also become the envy of every fashionista around.
Assembling and Securing

Now that you’ve got all your materials ready, it’s time to plunge into assembling and securing your new sandals. Start by laying out your old heels and the straps you’ve chosen. Use effective assembly techniques, like measuring and cutting the straps to the perfect length, ensuring they complement your heel’s design. Grab your trusty glue or a needle and thread for a more durable hold.
Begin by attaching the straps to the sides of the heel, making sure they’re evenly spaced for that chic look. Don’t skimp on securing straps—double-check your knots or glue to avoid any wardrobe malfunctions! For added flair, consider crisscrossing the straps or creating a cute ankle wrap. As you secure everything in place, visualize how fab you’ll feel in your new sandals. You’re one step closer to rocking a unique style that’s all your own!
Adding Finishing Touches
With the straps securely in place, it’s time to elevate your newly crafted sandals with some finishing touches that will truly make them pop. Start by selecting stylish accents that reflect your personality. Think vibrant beads, tassels, or even a splash of glitter to catch the eye. You could also add a chic bow or some fabric flowers for a flirty vibe—these little details can transform your sandals from basic to fabulous.
Consider painting or stenciling fun designs onto the soles for a unique flair that’ll show when you walk. Don’t forget to accessorize! Pair your sandals with matching anklets or stackable bracelets for that on-trend look.
Finally, a spritz of fabric freshener will keep them smelling great. With these finishing touches, your old heels will be unrecognizable, turning heads wherever you go. Get ready to strut your stuff in your new, stylish sandals!
Frequently Asked Questions
Can I Use Any Type of Heels for This Project?
You can use various types of heels for this project, but consider materials needed and design inspiration. Think about textures and colors that can elevate your new sandals, making them uniquely yours and oh-so-stylish!
How Long Does the Transformation Process Usually Take?
The transformation time for your project usually takes a couple of hours. With creativity and the right tools, you’ll be amazed at how quickly those old heels can become stylish sandals, ready to strut!
What if My Heels Are Too Worn Out?
If your heels are like a faded memory, don’t fret! You’ve got repair options, like sole replacement, that can breathe new life into them, transforming those tired shoes into a trendy statement piece you’ll love.
Are There Safety Precautions I Should Consider?
When you’re working with shoe materials, always wear gloves to protect your hands. Don’t forget safety tools like goggles; they’ll keep your eyes safe from dust or debris while you transform those heels into something fabulous!
Can I Customize My Sandals With Paint or Embellishments?
Why settle for ordinary when you can transform your sandals? You can definitely customize them with vibrant paint types or chic embellishment ideas, like beads or fabric flowers, creating a fresh look that reflects your unique style!
