To shorten a heel without damaging your shoe, start by measuring the current height accurately. Gather the right tools like a sharp utility knife and sandpaper. Mark the cut line, then carefully trim the heel, ensuring stability and comfort. After cutting, smooth the edges for a polished finish. Consider adding heel caps for extra support. With the right approach, you can achieve a comfortable fit that matches your style. Discover additional tips for perfecting your heels.
Assessing the Heel Height
When it comes to shortening a heel, the first step is evaluating its height, which can often feel like a balancing act between style and comfort. You’ll want to assess your heel styles and height preferences to determine what truly works for you. Start by measuring the existing heel height with a ruler; this’ll give you a baseline. Next, consider how much you’d like to reduce it—an inch or two can make a significant difference in feel without sacrificing style.
Look closely at the shoe’s design—certain styles, like stilettos, might require more precision, while block heels can be slightly more forgiving. Remember that your preferred height should align with your daily activities, whether it’s a day at the office or a night out. This assessment sets the stage for a successful shortening process, ensuring you end up with heels that feel just right.
Choosing the Right Tools
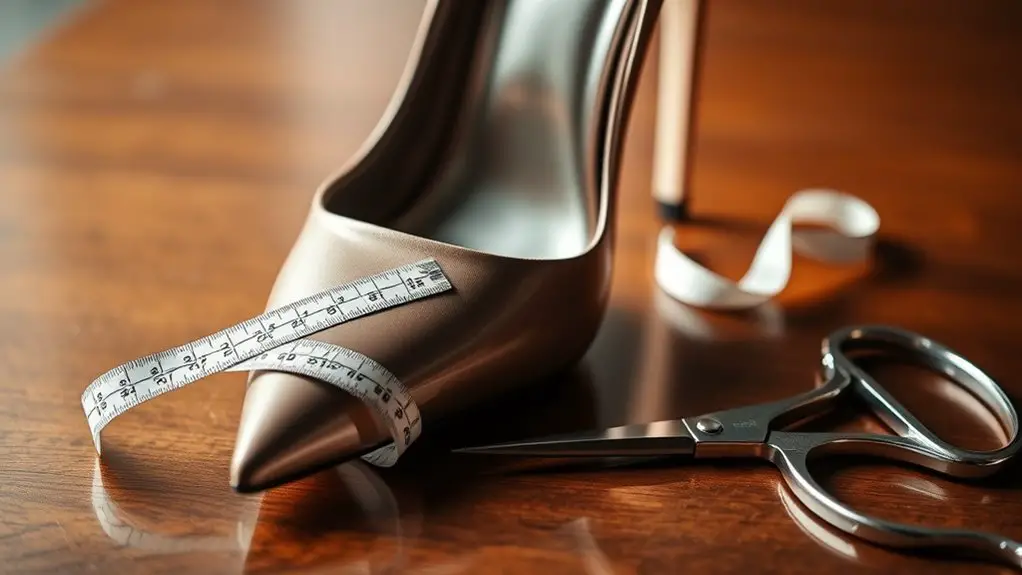
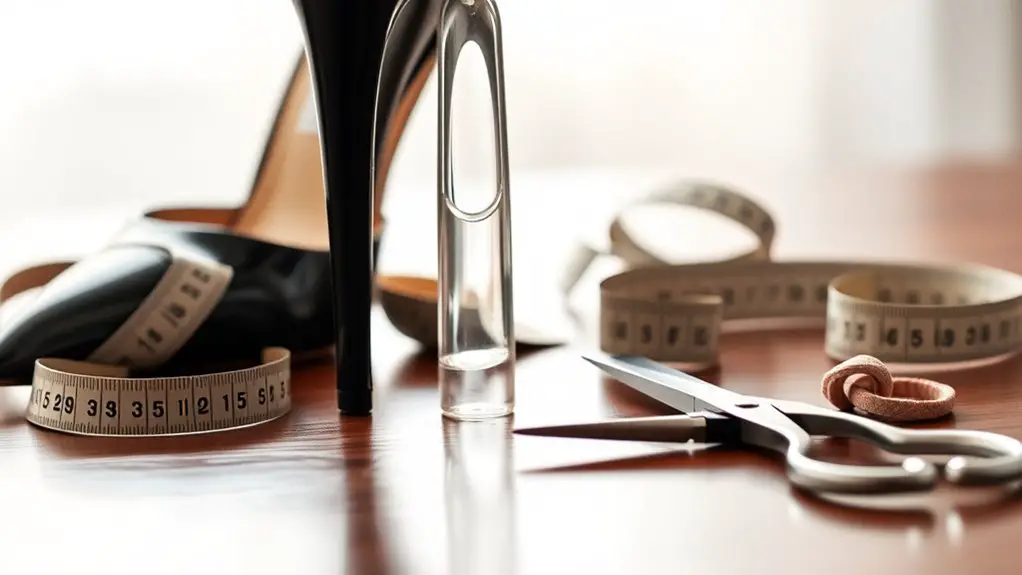
After determining the ideal heel height, the next step involves gathering the right tools to execute the shortening process effectively. You’ll need a few essential tool types to guarantee precision and safety. Start with a sharp utility knife or a specialized heel cutter—brands like X-Acto or Olfa are reliable choices. A measuring tape is vital for accuracy, as is a pencil for marking your cut line.
Don’t forget about sandpaper or a sanding block to smooth out the edges after cutting. For added stability, a vice or clamps can hold the shoe securely while you work. If you’re dealing with wooden or stacked heels, a small saw might come in handy. Investing in quality tools from trusted brands will not only make your task easier but also help you maintain the integrity of your shoes during the process.
Using Heel Caps
Using heel caps can be a game-changer in your shoe modification project. They not only help you achieve the desired height but also protect your shoes from damage. Here’s how to effectively use heel caps:
- Choose the Right Heel Cap Types: You’ll find rubber, plastic, and metal options—select the one that suits your shoe style and comfort.
- Measure Carefully: Before installation, measure the heel height you want to shorten. Precision is key!
- Clean the Area: Verify the heel’s surface is clean and dry. This will help the adhesive stick better.
- Follow Installation Tips: Apply the cap firmly, ensuring it’s aligned properly. Allow time for the adhesive to set before wearing your shoes.
Modifying the Heel Structure
When you’re ready to modify the heel structure, choosing the right tools is essential for precision. You’ll want to explore various techniques tailored to your specific shoe type and heel design. With the right approach, you can achieve a custom fit that enhances both comfort and style.
Selecting the Right Tools
Selecting the right tools for modifying the heel structure is fundamental to achieving a precise and effective alteration. You’ll want to gather a few key tool types and necessary materials to guarantee success. Here’s a handy list to guide you:
- Heel Cutter: This specialized tool allows you to trim the heel accurately without damaging the shoe.
- Ruler or Measuring Tape: Precision is essential; these will help you measure the desired heel height.
- Sandpaper or File: Use these to smooth any rough edges after cutting, securing a polished finish.
- Strong Adhesive: If you’re reattaching parts, a durable adhesive is crucial for a secure bond.
Equip yourself with these tools, and you’ll be well on your way to modifying that heel effectively!
Techniques for Heel Modification
Modifying a heel requires a blend of precision and technique to achieve the perfect balance between style and comfort. First, assess the heel structure and choose the right heel alteration techniques for your shoe type. For wooden heels, you might use a saw to shorten the height, ensuring a smooth finish with sandpaper. If you’re dealing with plastic or rubber, a heat gun can help reshape the material before trimming. Remember to maintain the heel’s angle for proper alignment. Always test the stability after making adjustments. Finally, use shoe repair tips like applying a protective coating to prevent damage and enhance longevity. With careful attention, you can achieve a modified heel that retains its charm and functionality.
Professional Tailoring Services
If you’re looking to shorten a heel but lack the skills or tools to do it yourself, professional tailoring services can be a game changer. With their tailoring expertise, these specialists guarantee your shoe alterations are both precise and safe. Here’s what you can expect when you choose a professional:
Professional tailoring services ensure precise and safe shoe alterations, making them an excellent choice for heel shortening.
- Assessment: They’ll evaluate your shoes to determine the best approach for shortening the heel.
- Techniques: Experts use advanced methods to maintain the shoe’s integrity and aesthetics.
- Quality Materials: They’ll source matching materials to guarantee a seamless repair.
- Final Touches: Expect meticulous finishing touches that keep your shoes looking pristine.
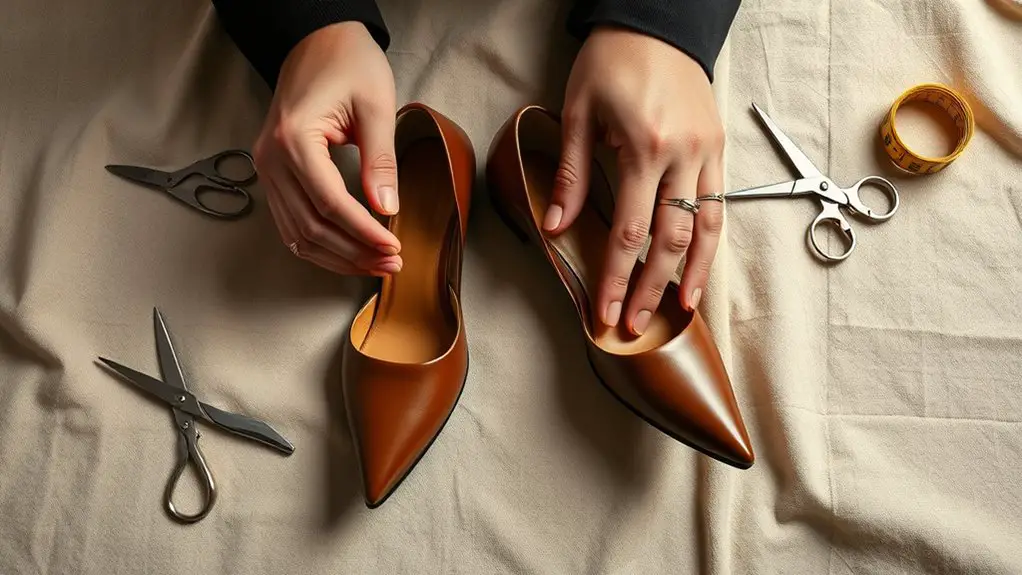
DIY Methods for Shortening Heels
For those who prefer a hands-on approach, shortening a heel on your own can be both rewarding and cost-effective. Start by measuring how much you want to trim; a ruler or measuring tape will guarantee precision. Use a fine-toothed saw or a Dremel tool for clean cuts—these are excellent diy shoe modification tools. After cutting, sand the edges smoothly to avoid splinters and guarantee stability.
To maintain the heel’s original shape, consider applying a heel cap, which you can find at most craft or shoe repair stores. This step not only protects your modification but also adds durability.
Lastly, apply a suitable adhesive if you’re using new materials or caps, allowing sufficient drying time. Remember, practicing these heel shortening techniques on an old pair first can help you gain confidence before tackling your favorite shoes. Happy modifying!
Maintaining Shoe Aesthetics
While shortening heels can enhance comfort and fit, maintaining the shoe’s overall aesthetics is equally important. You want to guarantee that your shoe design retains its visual appeal and aesthetic balance after modifications. Here are some tips to help you keep your shoes looking great:
- Choose the Right Method: Use techniques that preserve the original shape, like sanding or cutting at specific angles.
- Match Materials: If you’re adding new components, guarantee they match the original materials for a cohesive look.
- Consider Proportions: Keep the shortened heel proportional to the shoe’s overall design to maintain its balance.
- Finish with Care: After adjustments, polish or paint any exposed areas to blend seamlessly with the rest of the shoe.
Testing Stability and Comfort
Once you’ve shortened your heel, it’s essential to assess its structure for stability and guarantee it provides adequate foot support. You’ll want to check for any wobbling or excessive flex that could compromise your balance. Comfort is just as important, so take a moment to walk around and feel how the shoe interacts with your foot’s natural movement.
Assessing Heel Structure
Evaluating the heel structure of your shoes is essential for ensuring both stability and comfort as you navigate your day. To get a clear picture, consider these factors:
- Heel Material: Check if it’s wood, plastic, or rubber. Each offers different levels of support and flexibility.
- Heel Design: Look for shapes like tapered, block, or stiletto. The design affects weight distribution and balance.
- Height: Measure the heel’s height—higher heels might compromise stability.
- Wobble Test: Gently shake the shoe. If it wobbles, the heel structure may not be stable enough for prolonged wear.
Evaluating Foot Support
When it comes to ensuring your heels provide adequate foot support, testing their stability and comfort is paramount. Start by examining your foot anatomy; identify your arch type—high, medium, or low. A shoe that accommodates your arch shape offers better arch support, helping to distribute weight evenly and reduce pressure points.
Next, stand and walk in the heels for a short period. Pay attention to how your foot feels; are you wobbling or feeling pinched? A stable heel should keep your foot secure without sacrificing comfort. Look for cushioning at the insole, as this can enhance overall support. Ultimately, a well-balanced heel combines stability, comfort, and proper arch support, ensuring your feet feel good all day long.
Caring for Your Shortened Heels
Although you’ve successfully shortened your heels, caring for them properly guarantees they maintain their new shape and comfort. Proper shoe maintenance is essential, especially after modifications. Here are four key tips for effective heel care:
- Regular Cleaning: Wipe down your heels with a soft cloth to remove dirt and dust. Avoid harsh chemicals that could damage the material.
- Storage: Store your heels in a cool, dry place. Use shoe trees or inserts to help maintain their shape and prevent creasing.
- Limit Wear: Rotate your shoes to avoid excessive wear on any single pair. This prolongs the life of your shortened heels.
- Professional Check-ups: Occasionally take your shoes to a cobbler for a professional inspection, ensuring the modifications remain secure and effective.
Frequently Asked Questions
Can I Shorten Heels on Any Type of Shoe?
You can shorten heels on many shoe types, but it depends on heel types and shoe materials. Some materials, like leather, allow for easier modifications, while others, like plastics, may not hold up as well.
Will Shortening My Heels Affect Their Resale Value?
Oh sure, because everyone wants a pair of stubby heels like a shoe with a bad haircut! Shortening can impact resale considerations, especially if it alters the shoe condition. Think twice before you snip!
How Long Does the Heel Shortening Process Take?
The heel shortening process typically takes a few days, depending on the complexity. Using precise heel measurement techniques, professional alteration services guarantee accuracy, resulting in a perfect fit while maintaining your shoes’ integrity and style.
What Materials Can I Use for DIY Heel Shortening?
For DIY heel shortening, consider using shoe repair techniques like adhesive, rubber sole materials, or wood blocks. You’ll also need heel modification tools such as a saw, sandpaper, and a measuring guide for precision.
Are There Shoes That Should Never Be Modified?
Did you know that over 70% of vintage styles lose their value when modified? High-end footwear, especially, should never be altered, as it risks both aesthetics and resale potential. Preserve their original charm and worth.