To replace a worn-out heel tip, first, inspect your shoes for damage. Gather tools like a screwdriver, pliers, and a suitable heel tip. Remove the old tip by cutting around it and gently prying it off. Clean the heel area thoroughly and make certain it’s dry. Apply a thin layer of adhesive to the new tip, align it, and press down firmly. Allow it to dry as recommended. There’s more to maintaining your shoes effectively for longer wear.
Identifying Worn-Out Heel Tips

When it comes to maintaining your shoes, checking the heel tips is crucial for both safety and comfort. You’ll want to look for common signs of heel wear, such as uneven wear patterns, visible cracks, or a thinning heel tip. If you notice that one heel tip is markedly more worn than the other, it could indicate improper alignment or gait issues. Additionally, if you hear a clicking sound when you walk, that may suggest that the heel tip is degrading and needs attention. The heel should maintain its shape; if it feels unstable or wobbly, it’s time to assess the heel tip. Regularly inspecting your shoes not only prolongs their lifespan but also guarantees you’re walking safely. Addressing these issues promptly can prevent further damage and provide a more comfortable experience while wearing your shoes. Keep an eye out for these signs to keep your footwear in prime condition.
Gathering Necessary Tools and Materials
To successfully replace a heel tip, you’ll need a few essential tools and materials. Properly selecting tools and choosing materials guarantees a smooth repair process. Here’s a quick overview of what you’ll need:
| Tool/Material | Purpose | Notes |
|---|---|---|
| Replacement heel tip | Main component of repair | Match size and shape |
| Screwdriver | To remove the old tip | Flathead or Phillips, as needed |
| Glue | To secure new heel tip | Strong, waterproof adhesive |
| Sandpaper | To smooth edges | Fine-grit for finishing |
Gather these items before starting your repair. Verify the materials are compatible with your footwear, as this will help maintain the integrity and appearance of your shoes. By being thorough in your preparation, you’ll set yourself up for success.
Preparing Your Shoes for Repair
Preparing your shoes for repair is an essential step that can greatly influence the outcome of your heel tip replacement. Start by using shoe inspection techniques to assess the overall condition of your footwear. Look for any signs of damage beyond the heel tip, such as cracks or wear in the upper and sole.
Next, create a repair preparation checklist. This should include items like cleaning the shoe surface, removing any debris from the heel area, and ensuring you have the right tools handy. Check that the shoe is dry and free from moisture, as this can affect adhesive bonding during the repair.
Removing the Old Heel Tip
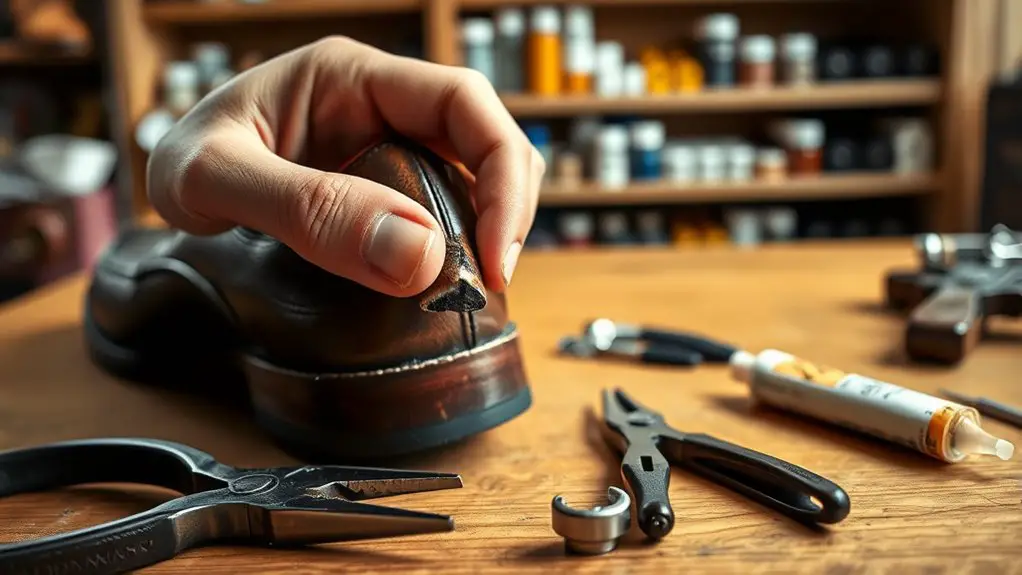
To remove the old heel tip, you’ll need specific tools like a flathead screwdriver and pliers. Start by carefully prying the tip away from the heel, following a step-by-step process to avoid damaging the shoe. Make sure to work methodically to guarantee a clean removal.
Tools Needed for Removal
When you’re ready to remove the old heel tip, you’ll need a few essential tools to make the process smooth and efficient. Having the right pliers types is vital for shoe repair, as they help grip and pull out the worn tip without damaging the shoe itself.
Here’s a quick overview of the tools:
| Tool | Purpose |
|---|---|
| Pliers | To grip and pull out the heel tip |
| Screwdriver | To remove screws, if applicable |
| Utility Knife | To cut any adhesive or material |
With these tools on hand, you’ll guarantee a more effective removal process, setting the stage for a successful heel tip replacement.
Step-by-Step Process
Before you begin removing the old heel tip, make certain you’ve gathered your tools and chosen a comfortable workspace. First, make sure you’re wearing safety goggles to protect your eyes from debris. Start by using the utility knife to carefully cut around the old heel tip, applying firm but controlled pressure to avoid damaging the shoe. One common mistake is rushing this step, which can lead to unnecessary damage. Once you’ve loosened the tip, use pliers to pull it off gently. If it doesn’t come off easily, check for any remaining adhesive or nails. Remember, taking your time is vital to avoid mistakes that could complicate the replacement process. Properly disposing of the old tip is also important for maintaining a clean workspace.
Cleaning the Heel Area
Cleaning the heel area of your shoes is essential for maintaining their appearance and functionality. Regular heel cleaning not only enhances their look but also extends their lifespan. Here’s how to tackle this important aspect of shoe maintenance:
- Remove dirt and debris: Use a soft brush or cloth to gently remove any buildup around the heel. This prevents scratches and keeps the material intact.
- Apply a suitable cleaner: Choose a cleaner appropriate for your shoe’s material—leather, suede, or rubber. Apply it sparingly with a cloth, focusing on the heel area.
- Condition the material: If applicable, use a conditioner to nourish the leather or suede. This helps maintain flexibility and prevents cracking.
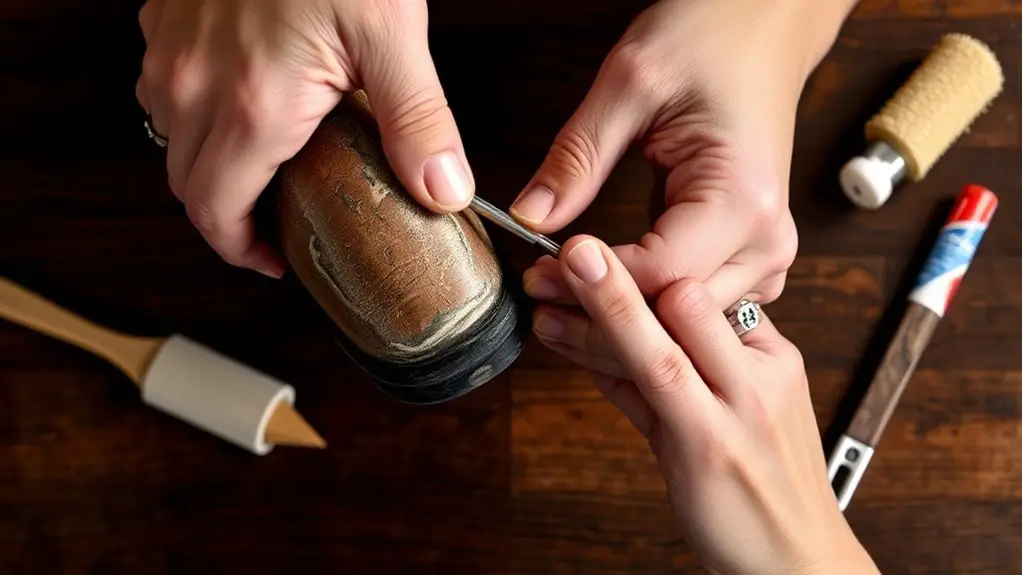
Installing the New Heel Tip
With the heel area now clean and ready, you can proceed to install the new heel tip. Start by selecting the appropriate heel tip materials for your shoe type; rubber is ideal for everyday wear, while leather fits well with formal shoes. Check the new heel tip for any irregularities and verify it matches the size of the old one.
Using a strong adhesive designed for the specific heel tip materials, apply a thin, even layer to the base of the new heel tip. Position it carefully over the heel, aligning it precisely. Firmly press down for a few seconds to confirm proper contact.
If applicable, utilize installation techniques like using clamps or weights to maintain pressure while the adhesive cures. Allow the recommended drying time before moving on to the next steps, guaranteeing a durable bond for long-lasting wear.
Securing and Finishing the Repair
To secure and finish the repair, verify that the adhesive has fully cured before handling the shoe. Rushing this step can lead to a weak bond, compromising your hard work. Once you’re certain the adhesive is secure, you can proceed with the finishing touches that enhance both durability and aesthetics.
- Inspect the heel tip for any excess adhesive; trim away with a sharp blade for a clean look.
- Apply a small amount of shoe polish to match the heel tip color with your shoe, ensuring a seamless appearance.
- Let the polish dry completely to protect the repair and restore your shoe’s shine.
Maintaining Your Shoes for Longevity
Although it may seem tempting to overlook regular maintenance, keeping your shoes in good condition is essential for longevity. Start with routine cleaning; use a soft brush or cloth to remove dirt and debris. For leather shoes, apply a suitable conditioner to prevent cracking.
Regular maintenance is key to shoe longevity; clean them often and condition leather to prevent cracking.
When it comes to storage, always keep your shoes in a cool, dry place, preferably in their original boxes or with shoe trees inserted. This helps maintain their shape and prevents moisture build-up.
Rotate your shoes regularly to avoid excessive wear on any single pair. Additionally, inspect your soles and heels for signs of damage; addressing these issues early can prevent more extensive repairs later.
Finally, consider using protective sprays or treatments to guard against water and stains. Implementing these shoe care practices will extend the life of your footwear and keep them looking fresh. Follow these longevity tips to make the most of your investment.
Frequently Asked Questions
Can I Replace Heel Tips on Any Type of Shoe?
You can replace heel tips on most shoe types, but you’ll need to take into account the heel tip materials. Different shoes may require specific replacements to guarantee durability and compatibility, so check before proceeding.
How Often Should I Check My Heel Tips for Wear?
You should check your heel tips regularly as part of your heel maintenance routine, ideally every month. Regular inspections can enhance shoe longevity, preventing further damage and ensuring peak performance and comfort in your footwear.
What Are the Signs of a Poorly Installed Heel Tip?
When evaluating installation issues, you’ll notice a heel tip that’s uneven, excessive wear on one side, or a loose fit. These signs indicate that the installation might not have been executed with the utmost precision.
Is It Better to Replace Heel Tips or Buy New Shoes?
When considering cost comparison, replacing heel tips often extends shoe longevity considerably. If your shoes are still in good condition otherwise, it’s usually more economical to replace the heel tips than to invest in new shoes.
Can a Cobbler Help if I Can’t Do It Myself?
If you can’t handle it yourself, a cobbler’s expertise is invaluable. They provide specialized cobbler services for shoe maintenance, ensuring your footwear remains in top condition, extending its life while saving you time and effort.