To repair loose rhinestones on fancy heels, first assess the damage by checking each rhinestone and inspecting the shoe’s structure. Gather supplies like matching rhinestones, clear adhesive, tweezers, and a cleaning cloth. Prepare the surface by cleaning with mild soap and water, ensuring it dries completely. Reattach loose rhinestones using precise adhesive application, following instructions for best bonding. Finally, prevent future issues by storing your heels properly and inspecting them regularly. There’s more to learn about keeping your shoes in top condition.
Assessing the Damage
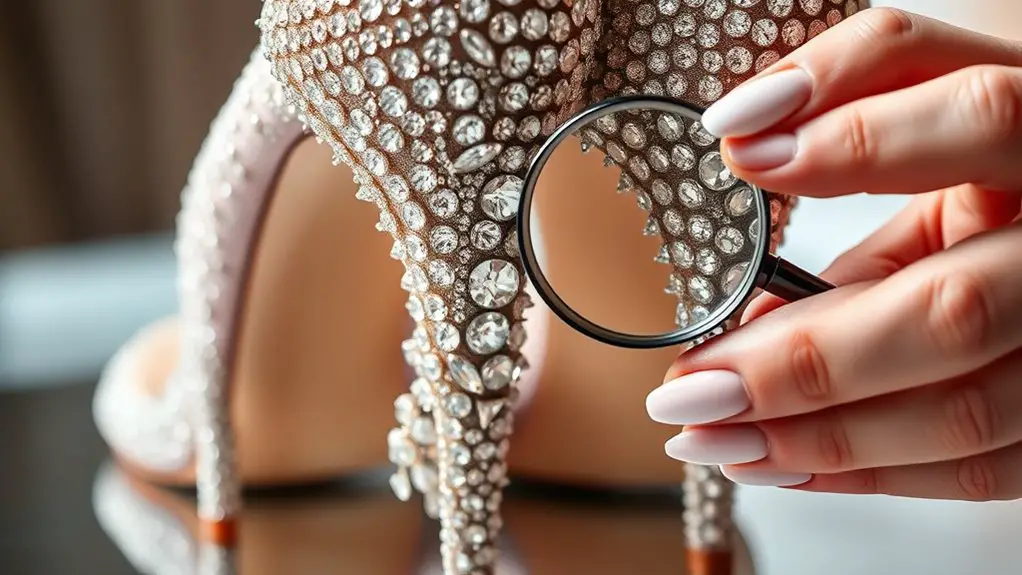
Before diving into repairs, it’s essential to assess the damage to your fancy heels. Start by examining each rhinestone closely. You’ll want to identify loose stones, as their instability could lead to further loss. Gently press each rhinestone to check for any movement; if a stone shifts or wobbles, it’s a clear sign that it needs attention.
Next, conduct a thorough inspection of the surrounding areas. Look for any signs of wear that might affect stability, such as frayed fabric or weakened adhesive. Pay special attention to the shoe’s structure—if the heel or sole shows signs of wear, it could compromise the rhinestones’ hold.
Once you’ve identified loose stones and checked stability, you’ll have a clear understanding of what needs repair. Documenting this information will help streamline the repair process, ensuring that you address all issues effectively when you’re ready to gather your supplies.
Gathering Your Supplies
As you prepare to repair your loose rhinestones, it’s essential to gather the right supplies to secure a successful fix. First, identify the rhinestone types on your heels; they may range from acrylic to glass. Knowing the type helps you choose the appropriate adhesive options. For most rhinestones, a strong fabric glue or a clear-drying epoxy works well, ensuring a lasting bond.
Next, collect a pair of tweezers for precise placement and a small brush or toothpick for applying the adhesive. You’ll also need a clean cloth to wipe away any excess glue and prevent mess. If you plan to replace any missing rhinestones, guarantee you have a selection that matches the original in size and color. Finally, consider having a small dish or tray to keep your materials organized while you work. With these supplies in hand, you’re ready to proceed confidently with your repair.
Preparing the Surface
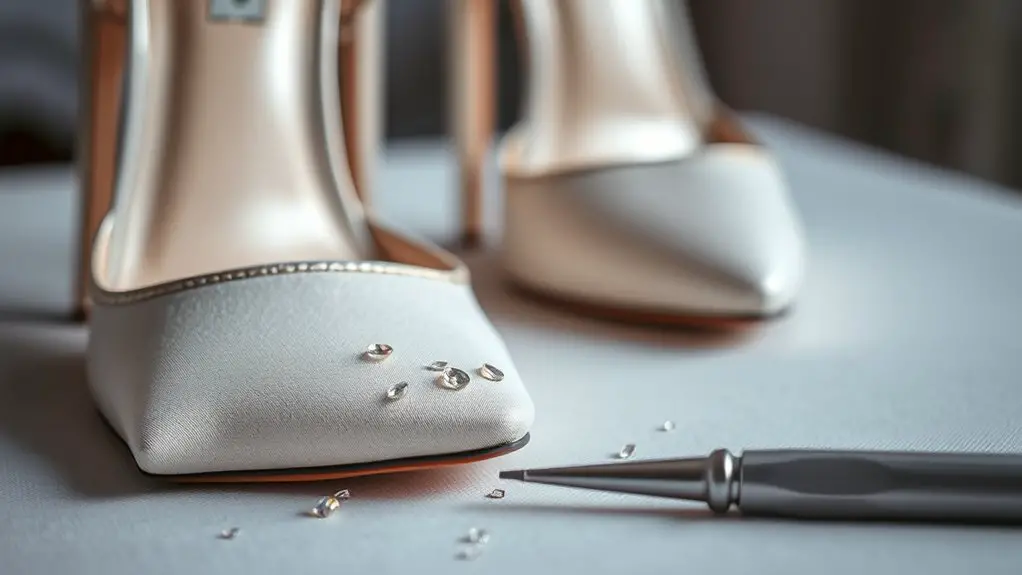
Once you’ve gathered your supplies, the next step is preparing the surface of your heels for rhinestone repair. Start by selecting an appropriate cleaning technique. Use a soft cloth dampened with mild soap and water, making sure it’s not overly wet, as excess moisture can damage the material. Gently wipe the area surrounding the loose rhinestones to remove dirt, oil, or adhesive residue.
After cleaning, allow the surface to dry completely. This step is vital, as any moisture can interfere with adhesion later. If your heels have intricate details or hard-to-reach areas, consider using a soft-bristled toothbrush to guarantee thorough cleaning.
Once the area’s clean and dry, inspect it for any remaining debris; repeat the cleaning process if necessary. Proper surface preparation will create an ideal foundation for reattaching the rhinestones, securing a more durable and long-lasting repair.
Reattaching the Rhinestones
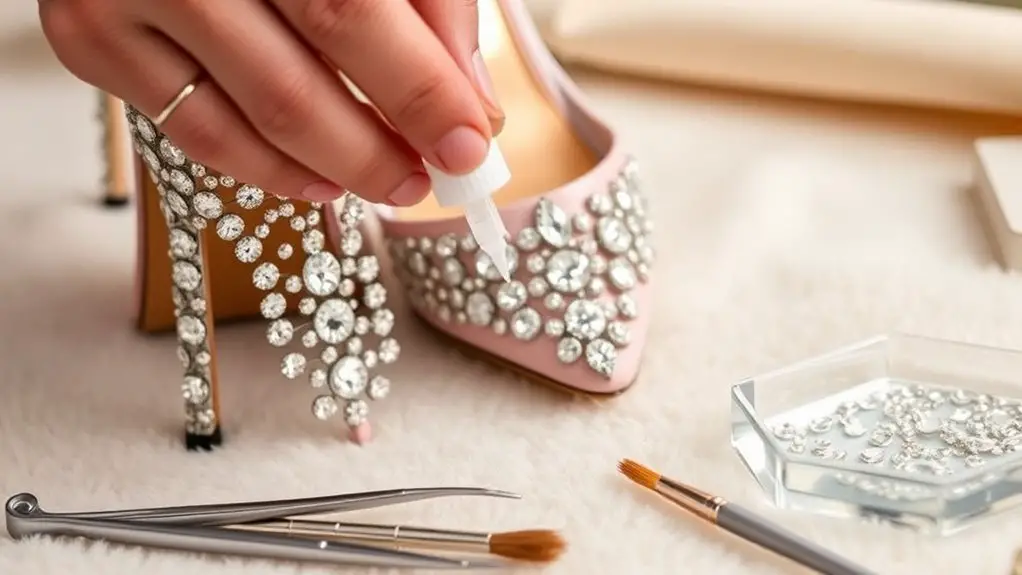
To reattach the rhinestones securely, start by applying a small amount of clear-drying adhesive specifically designed for rhinestones or gemstones. Choose the right glue types, like E6000 or Gem-Tac, for ideal bonding. Using a toothpick or a fine applicator, place the adhesive precisely where the rhinestone will sit.
Here’s a quick reference table for application techniques:
| Glue Type | Application Technique |
|---|---|
| E6000 | Apply directly to the stone and surface. Use a toothpick for precision. |
| Gem-Tac | Dab a small amount on the surface, press the rhinestone down firmly. |
| Hot Glue | Use a glue gun for quick application; make sure it cools slightly before placement. |
| Fabric Glue | Apply to the shoe surface, then press the rhinestone lightly. |
| Super Glue | Use sparingly, as it dries quickly; position rhinestone immediately. |
Once positioned, let the glue cure fully for the best results.
Preventing Future Issues
While it’s vital to reattach loose rhinestones properly, preventing future issues is equally important. Start by implementing preventive measures like storing your fancy heels in a dust bag or box to minimize exposure to dust and moisture. When wearing them, avoid rough surfaces that could dislodge rhinestones.
For long-term care, regularly inspect your heels for any signs of wear or loosening. If you notice any stones starting to shift, address them immediately. Use a fabric protector spray to shield your shoes from stains and damage, which can indirectly affect the rhinestones.
Additionally, consider limiting wear to special occasions rather than everyday use, which can greatly extend the life of your embellishments. Finally, when cleaning your heels, opt for a soft cloth and gentle cleaner, steering clear of harsh chemicals that could weaken the adhesive holding the rhinestones in place.
Frequently Asked Questions
Can I Use Super Glue for Rhinestones on Heels?
Imagine a craftsman wielding super glue types like a sculptor’s chisel. While it’s tempting, consider alternative adhesives for rhinestones. They often provide a more durable bond, ensuring your creations shine bright without unexpected drops.
How Long Does the Repair Process Take?
The repair process typically takes about 24 hours, accounting for drying time. Using proper repair techniques guarantees the rhinestones adhere securely, but remember, rushing can compromise the bond and longevity of your repairs.
Will Repairing Rhinestones Affect the Shoe’s Appearance?
Imagine a starry night; each rhinestone reflects light like a distant galaxy. Proper rhinestone placement can enhance shoe aesthetics, ensuring the repair blends seamlessly, preserving the original design while rejuvenating your favorite heels’ sparkle.
Can I Wash My Heels After Repairing Rhinestones?
You shouldn’t wash your heels immediately after repairing rhinestones. Proper rhinestone care involves waiting at least 24 hours. If washing’s necessary, use gentle techniques, avoiding harsh chemicals that could weaken your adhesive or damage the rhinestones.
What if I Can’T Find Matching Rhinestones?
If you can’t find matching rhinestones, consider alternative embellishments like beads or sequins. Sourcing materials online or at craft stores can yield unique options that complement your heels while maintaining their elegance and style.