To give your old heels a fresh look, start by gathering high-quality acrylic paint and prep your shoes by cleaning and smoothing them out. Next, choose a bold or muted color and apply a base coat for protection, ensuring even coverage. Get creative with details like rhinestones or unique designs for added flair. Finally, let them dry completely before showing off your revamped heels. If you want tips on maintenance and storage, there’s more to uncover!
Gather Your Materials
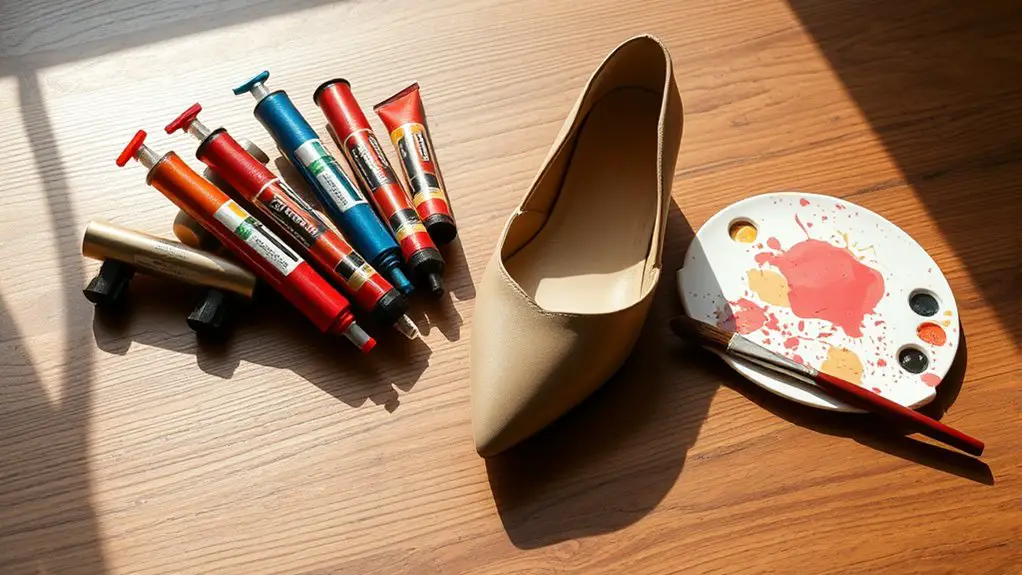
Before diving into your heel makeover, it’s essential to gather all the right materials to guarantee a smooth painting process. Start with the paint supplies: you’ll need a high-quality acrylic paint that’s durable and can withstand wear. Look for paints specifically formulated for shoes, as they’ll adhere better and resist cracking.
Next, select your color palette. Think about the vibe you want to create—bold and vibrant or soft and muted? Having a clear vision will make your choices easier. Don’t forget a paintbrush for precision, and some painter’s tape to keep those lines sharp. A sealant is also vital to protect your masterpiece from scuffs and scratches.
Lastly, grab a couple of old rags or paper towels for any accidental spills. Once you’ve got everything, you’ll be ready to transform those old heels into a fresh fashion statement!
Prepare Your Heels
Preparing your heels is a crucial step in achieving a flawless paint job, and it only takes a few simple steps. Start with a thorough heel assessment to identify any scuffs or damage that need attention. Once you’ve noted the condition, it’s time to plunge into some effective cleaning techniques.
Here’s a quick reference table to help you out:
| Cleaning Technique | Purpose |
|---|---|
| Mild Soap & Water | Removes dirt and grime |
| Rubbing Alcohol | Disinfects and removes oils |
| Sandpaper (Fine Grit) | Smooths rough areas |
| Cotton Swabs | Cleans hard-to-reach spots |
| Dry Cloth | Wipes off excess moisture |
After cleaning, let your heels dry completely. This preparation guarantees the paint adheres well, giving your beloved heels the new look they deserve. Get ready to release your creativity!
Choose the Right Paint
When it comes to giving your old heels a fresh look, choosing the right paint is key. Think about the type—acrylic, fabric, or leather paint—and how it’ll work with your shoe material. Don’t forget to explore color options and finishes; they can totally transform your heels from drab to fab!
Paint Type Selection
Choosing the right paint for your old heels can make all the difference in achieving a fresh, stylish look. You’ll want to take into account the material of your heels and the finish you desire. Here are some popular options:
- Acrylic Paint: Great for leather and gives a vibrant finish.
- Spray Paint: Perfect for quick coverage and even application.
- Fabric Paint: Works wonders on fabric heels, providing flexibility and durability.
Don’t forget to seal your masterpiece with a waterproof sealant to protect your design. This step guarantees your newly painted heels withstand the test of time and wear. Whether you’re going bold or subtle, selecting the right paint type is essential for a stunning transformation!
Color Considerations
Now that you’ve selected the right paint type for your old heels, it’s time to think about color choices that’ll make your footwear pop. Consider color psychology: each hue evokes different feelings. For instance, red is bold and confident, while blue brings calm and trust. Think about seasonal trends, too! Pastels are perfect for spring, while rich jewel tones shine in fall. Don’t shy away from experimenting—metallics can add a chic flair, and bright neons are great for summer fun. When picking colors, think about your wardrobe and how the heels will complement your outfits. Ultimately, choose a shade that reflects your personality and makes you feel fabulous. Happy painting!
Finish Options
As you immerse yourself in the world of painting your old heels, selecting the right finish can make all the difference in achieving a professional look. You’ll want to weigh the pros and cons of matte vs glossy finishes. Matte offers a chic, understated vibe, perfect for a subtle transformation. On the other hand, glossy can add a pop of glam, making your heels stand out.
Consider these factors:
- Durability: Glossy finishes often resist scuffs better.
- Maintenance: Matte can show dirt more easily, while glossy wipes clean with ease.
- Texture Variations: Experimenting with different textures can elevate your design, adding depth and interest.
Choose wisely, and your heels will shine brighter than ever!
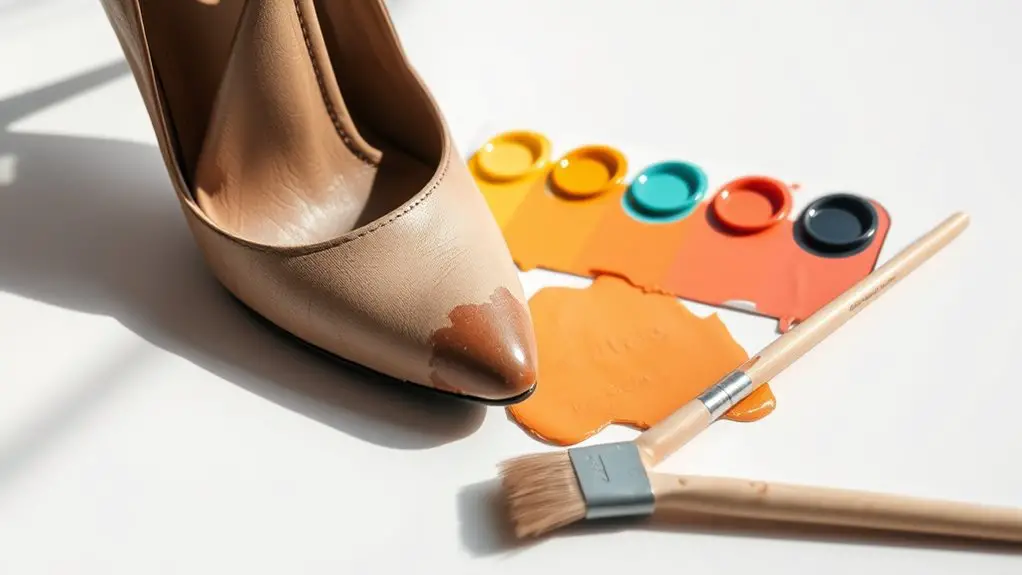
Apply the Base Coat
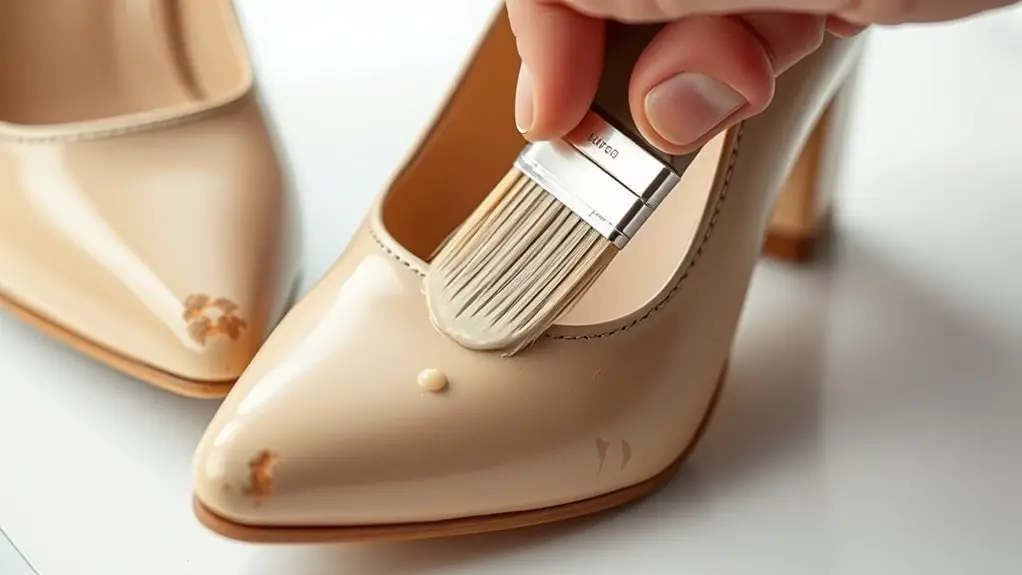
Get ready to transform those old heels into a fresh fashion statement by applying the base coat. This essential step not only enhances the color you’re about to apply, but it also protects your heels from wear and tear. The base coat benefits include creating a smooth surface, guaranteeing better adhesion of the paint, and preventing chipping and peeling down the line.
To begin base coat application, choose a color that complements or contrasts with your desired topcoat. Use a small brush or spray can for even coverage, and don’t forget to get into the nooks and crannies! Allow it to dry completely before moving on. This guarantees that the paint adheres properly, giving your heels a long-lasting, polished look. Once you’ve got that base coat on, you’re one step closer to stepping out in style!
Add Details and Finishing Touches
Once your base coat is dry, it’s time to release your creativity by adding details and finishing touches that truly elevate your heels. This is where you can really make your shoes pop! Think about incorporating different embellishment techniques and decorative accents that reflect your personal style.
- Sparkly rhinestones: Attach these to the straps or around the heel for a glam effect.
- Stencils and patterns: Use them to create unique designs that catch the eye and showcase your artistic flair.
- Fabric or lace overlays: Add texture and sophistication by gluing on these materials for a chic, layered look.
These finishing touches can transform your heels from ordinary to extraordinary. Don’t be afraid to experiment; mixing and matching different techniques can lead to a stunning result that’s uniquely yours!
Let Them Dry and Show Off Your New Look
Now that you’ve added those finishing touches, it’s time to let your heels dry properly and really shine. Once they’re set, you can style them to complement your outfit and show off your creative flair. Plus, we’ll share tips on how to maintain that fabulous finish, so your newly painted heels stay stunning for every occasion!
Proper Drying Techniques
As you wrap up your painting project, it’s essential to give your newly transformed heels the time they need to dry properly. Rushing this step can lead to smudges or peeling paint, ruining your hard work. Explore different drying methods to find what suits you best:
- Air Drying: Let your heels sit in a well-ventilated area for ideal drying times.
- Fan Drying: Use a fan to circulate air and speed up the process without risking damage.
- Heat Gun: If you’re in a hurry, a heat gun can quicken drying times, but be cautious to avoid overheating.
Styling Your New Heels
While you wait for your newly painted heels to dry, it’s the perfect opportunity to start planning how you’ll style them. Think about pairing those vibrant hues with flattering heel outfits that pop! For fall, consider a cozy oversized sweater with tailored trousers, showcasing your heels as a statement piece. In summer, a flirty sundress can elevate your look, adding a fun twist to seasonal trends. Don’t forget to accessorize! A chic handbag or bold earrings can tie the look together. Explore different textures and patterns to create a balanced ensemble, ensuring your heels are the star of the show. With a little creativity, you’ll turn heads and make those heels your new go-to accessory!
Maintaining the Finish
After you’ve styled your heels and let them dry, it’s time to focus on maintaining that fresh finish. Proper finish care is essential to keep your heels looking fabulous. A protective coating can shield your stunning paint job from scuffs and scratches, ensuring your heels remain the center of attention.
- Choose the Right Coating: Opt for a clear spray sealant or a liquid finish that suits your paint type.
- Regularly Clean: Wipe down your heels with a soft cloth to remove dirt and grime, preventing damage.
- Store Wisely: Keep your heels in a dust-free, cool place, away from direct sunlight to avoid fading.
With these tips, you’ll strut confidently in your rejuvenated heels!
Frequently Asked Questions
Can I Paint Leather and Suede Heels the Same Way?
You can’t paint leather and suede the same way. For leather, choose vibrant colors and use a brush for smooth application. Suede needs special dyes; consider spray painting techniques for even color selection and a fresh finish.
How Long Will the Paint Last on My Heels?
How long do you expect your painted heels to last? With proper heel maintenance, paint durability can stretch for months. However, wear and tear will eventually take its toll, so touch-ups might be necessary!
What Should I Do if the Paint Starts to Chip?
If the paint starts to chip, don’t fret! You can use touch up techniques like small brush applications or repair options such as fabric paint. Just be sure to prep the surface for a smooth finish.
Can I Use Regular Acrylic Paint Instead of Fabric Paint?
You can use acrylic paint, but it may not adhere as well as fabric paint. Fabric paint offers flexibility, making it ideal for shoes. Consider its benefits for lasting acrylic paint applications on your stylish heels!
Is It Safe to Wear Painted Heels in the Rain?
Wearing painted heels in the rain isn’t recommended unless you’ve used waterproofing techniques. You want paint durability, not fading or peeling. Make sure to protect your stylish shoes if the weather’s looking wet!