To fix a wobbly heel without a cobbler, start by checking the shoe structure for cracks and heel alignment. Use shoe glue to secure loose heel caps and tighten any screws. For a broken heel nail, file jagged edges and use super glue to secure a replacement if needed. Consider adding extra padding to the insole for stability. Regular inspections and maintenance can prevent future issues, and there are more techniques you can follow for effective repairs.
Identifying the Problem With Your Wobbly Heel
How can you determine the cause of your wobbly heel? Start by examining the shoe’s structure. Check for any visible damage like cracks or loose components, which could indicate wobbly heel causes. Next, assess the heel itself. If it’s detached or misaligned, it can lead to significant shoe stability issues.
Also, inspect the insole and outsole; wear and tear can affect the shoe’s balance and support. If the heel is uneven, you may need to level it to restore stability.
Lastly, consider your foot mechanics. If you have an unusual gait, it might contribute to the instability. By systematically evaluating these aspects, you can pinpoint the root of the problem. A thorough assessment will guide you in deciding whether to attempt a repair or seek professional help. Identifying the issue is vital for achieving a functional and stable shoe.
Tools You’ll Need for the Repair
Once you’ve identified the cause of your wobbly heel, gathering the right tools for the repair is the next step. Having the proper DIY tools will guarantee a successful shoe repair. Here’s a quick list of what you’ll need:
| Tool | Purpose | Optional Use |
|---|---|---|
| Shoe glue | To secure loose components | Reinforce weak areas |
| Screwdriver | To tighten screws if applicable | Remove old heel caps |
| Hammer | To gently tap any misaligned parts | Set new heel caps or parts |
With these tools in hand, you’ll be well-equipped to tackle the repairs. Make sure to work in a well-lit area for better precision, and always follow safety guidelines while handling your DIY tools. Happy repairing!
Tightening Loose Heel Caps
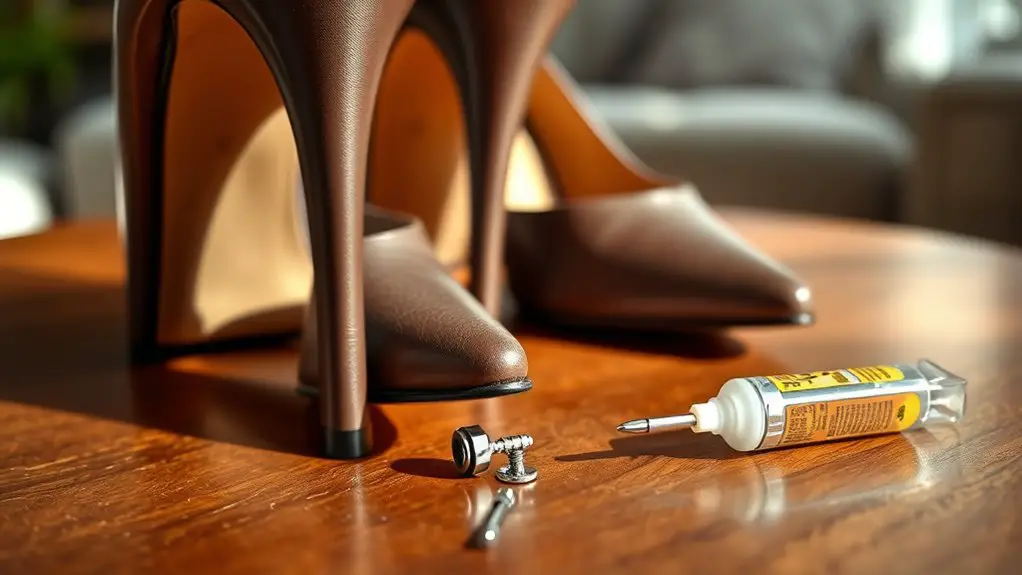
To tighten loose heel caps, you’ll need specific tools, including a screwdriver and adhesive. Start by evaluating the degree of looseness to determine the appropriate method for securing the cap. Follow the step-by-step process outlined to guarantee a stable repair.
Tools You’ll Need
When addressing loose heel caps, having the right tools can make the process quicker and more effective. To tackle common heel issues, you’ll need a few essential items. First, grab a strong adhesive, such as shoe glue or epoxy, to securely bond the heel cap. A small screwdriver or a pair of pliers will help you tighten any screws or fasteners. Additionally, a clean cloth is useful for wiping off excess glue and ensuring a neat finish. Finally, a wooden or rubber mallet may be handy for gently tapping the heel cap back into place if it’s misaligned. With these tools in hand, you’ll be well-equipped to follow effective shoe maintenance tips and restore your heels to prime condition.
Step-by-Step Process
Although it may seem intimidating, tightening loose heel caps is a straightforward process that requires careful attention to detail. Proper heel stability is essential for effective shoe maintenance. Follow these steps:
- Inspect the Heel Cap: Check for any visible gaps or looseness. This will help you assess the extent of the issue.
- Apply Adhesive: Use a strong shoe adhesive to fill in gaps. Apply it carefully around the edges of the heel cap, guaranteeing even coverage for maximum grip.
- Secure and Dry: Press the heel cap firmly against the shoe and hold it in place for a few minutes. Allow it to dry according to the adhesive’s instructions to guarantee lasting stability.
Repairing a Broken Heel Nail
If you’ve noticed a broken heel nail, addressing the issue promptly can prevent further damage and discomfort. Start by evaluating the break; if it’s minor, you might only need a temporary fix. Gather materials like a small file, super glue, and a replacement nail if necessary. Carefully file any jagged edges to prevent snagging. If the nail is too damaged to repair, consider a nail replacement. Measure the length of the existing nail and cut a new one from sturdy plastic or wood, ensuring it matches.
Secure the replacement nail to the broken heel using super glue, applying it meticulously to avoid excess. Hold it in place for a few minutes to set. After it’s dried, test the stability by gently applying pressure. Remember, if you’re unsure about the repair’s integrity, it’s best to consult a professional cobbler for assistance.
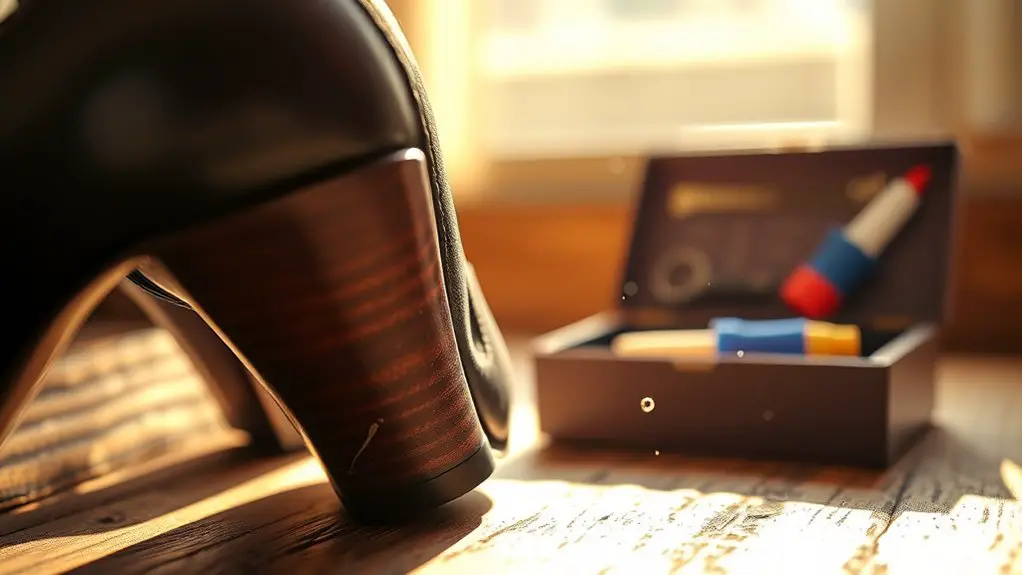
Using Shoe Glue for Stability
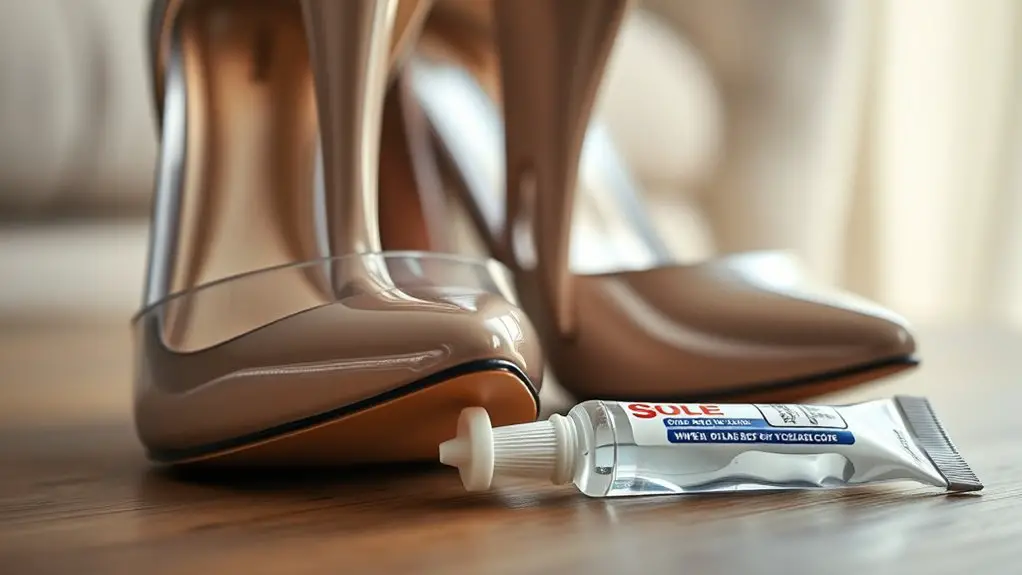
To effectively stabilize a wobbly heel, selecting the right type of shoe glue is essential. You’ll need to take into account factors such as drying time and flexibility to guarantee a durable bond. Once you’ve chosen the appropriate adhesive, follow a precise application process to achieve ideal results.
Choose the Right Glue
When fixing a wobbly heel, selecting the right glue is essential for achieving long-lasting stability. Different glue types offer varying strengths and drying times, so you’ll want to choose wisely. Here are three options to contemplate:
- Shoe Repair Glue: Specifically designed for footwear, it bonds well with different materials and typically has a quick drying time.
- Epoxy Adhesive: Offers a strong hold and is excellent for heavier heels. However, its drying time is longer, often requiring several hours.
- Super Glue: Fast-drying and effective for minor repairs, but it may not withstand frequent stress as well as other options.
Selecting the right adhesive guarantees your heel won’t wobble again, giving you the confidence to walk.
Application Process Steps
Before you begin applying shoe glue, make certain the surfaces are clean and dry to maximize adhesion. Here’s a step-by-step guide to using shoe glue effectively:
| Step | Action |
|---|---|
| 1 | Clean the heel and shoe with rubbing alcohol. |
| 2 | Apply a thin layer of shoe glue to both surfaces. |
| 3 | Press the heel back into place firmly. |
| 4 | Secure with clamps or tape for stability. |
| 5 | Allow the glue to cure as per manufacturer’s instructions. |
Utilizing proper application techniques is essential to guarantee a strong bond between the repair materials. Take your time during each step for best results. With patience, your wobbly heel will regain its stability.
Adding Heel Pads for Extra Support
Although a wobbly heel can be frustrating, adding heel pads can greatly enhance stability and support. These pads come in various heel pad types, each offering unique benefits that can improve your footwear experience.
- Gel Heel Pads: These provide excellent cushioning and shock absorption, making them ideal for prolonged wear.
- Foam Heel Pads: Lightweight and compressible, foam pads contour to your heel, offering both comfort and support.
- Leather Heel Pads: Durable and breathable, leather pads not only add support but also help in moisture management.
Adjusting the Shoe’s Insole
To stabilize a wobbly heel, start by checking the insole fit; it should lie flat without any gaps. If you find the insole is too thin or doesn’t provide adequate support, consider adding extra padding for improved stability. This adjustment can greatly enhance your comfort and reduce heel instability.
Check Insole Fit
Verifying that the insole fits properly is essential for stabilizing your shoe and preventing a wobbly heel. When you face fitting issues, it’s vital to assess the insole adjustment. Here’s how to check the fit:
- Remove the Insole: Take out the insole and inspect it for any signs of wear or damage, which can impact stability.
- Test the Fit: Place the insole back into the shoe and confirm it lies flat without overlapping or bunching. It should sit snugly against the shoe’s interior.
- Walk Test: Once reinserted, walk around in the shoes. If you feel any shifting or instability, further adjustments may be needed.
Add Extra Padding
Adding extra padding to your shoe’s insole can greatly enhance stability and comfort, especially if you’re dealing with a wobbly heel. Start by selecting the right padding types; foam, gel, or air-infused materials are popular options. For effective heel cushioning, make sure the padding is specifically designed for this area, providing both support and shock absorption. Cut the padding to fit your insole precisely, avoiding any excess that may cause discomfort. Once applied, check for a snug fit within the shoe to prevent slippage. Consider layering different padding types for customized support, adjusting thickness based on your comfort level. This simple adjustment can considerably improve your overall walking experience and reduce the instability caused by a wobbly heel.
Checking for Uneven Wear
Have you noticed your heel wobbling as you walk? This could be due to uneven wear on your shoes. To diagnose the issue, follow these steps for effective shoe maintenance:
Noticing a wobbly heel while walking? It might be time to check for uneven wear on your shoes.
- Inspect the Outsole: Look for irregular wear patterns on the bottom of your shoe. If one side is considerably more worn than the other, this could lead to instability.
- Check the Heel: Examine the heel itself for signs of uneven wear. A tilted or worn-down heel can exacerbate wobbling.
- Assess the Insole: Remove the insole and check for changes in thickness or wear. An uneven insole can affect your foot’s support and balance.
Addressing these wear patterns promptly can help you maintain your shoes and prevent further wobbly heels. Regular checks will guarantee a stable walk, making your footwear last longer while keeping you comfortable.
Preventive Measures for Future Issues
While it’s important to address existing issues, taking preventive measures can greatly reduce the likelihood of future wobbly heels. Start with regular inspections of your footwear. Check the heel area for signs of wear, damage, or loosening. This helps you catch potential problems early.
Incorporate preventive maintenance into your routine by cleaning and conditioning your shoes, which can prolong their lifespan. Avoid excessive exposure to moisture or extreme temperatures, as these factors can weaken the heel structure.
When walking, be mindful of your gait and the surfaces you traverse; uneven terrain can exacerbate heel instability. Rotate your shoes regularly to distribute wear evenly, reducing stress on any single pair. By adopting these practices, you’ll minimize the risk of developing wobbly heels in the future, ensuring your footwear remains sturdy and reliable.
When to Seek Professional Help
Even with preventive measures in place, there are times when addressing a wobbly heel requires professional intervention. Knowing when to DIY can save you time and money, but you need to recognize the signs of damage that indicate it’s best to consult a cobbler.
Here are three key signs that suggest professional help is needed:
- Severe Instability: If your heel wobbles considerably or feels loose, it may indicate internal damage.
- Visible Wear: Cracks, splits, or breaks in the material can compromise the shoe’s structural integrity, making DIY fixes ineffective.
- Persistent Issues: If you’ve attempted repairs multiple times and the problem recurs, it’s a clear sign that a professional should take a look.
Don’t hesitate to seek expert assistance when these signs arise; it could save you from further damage and costly replacements down the line.
Frequently Asked Questions
Can I Fix a Wobbly Heel on Any Type of Shoe?
Yes, you can fix a wobbly heel on many shoe types. Depending on shoe materials, use appropriate repair techniques like adhesive for leather or a nail for wooden heels, ensuring stability and preventing further damage.
How Long Will the Repair Last Before Needing Attention Again?
If you’ve recently repaired a beloved pair of heels, you might wonder about their repair longevity. Typically, it lasts several months, but frequent wear patterns can affect durability, necessitating attention sooner than you’d hope.
Are There Specific Brands of Shoe Glue Recommended for Repairs?
For shoe repair, you should consider specific adhesive types like E6000 or Shoe Goo. These provide strong bonds for heel repairs. Make certain the surfaces are clean and dry before applying for best results.
What Should I Do if the Heel Breaks While I’m Out?
If your heel breaks while you’re out, consider emergency fixes like using tape for stability or a rubber band to secure it temporarily. These solutions can keep you moving until a proper repair is possible.
Can I Prevent Wobbly Heels by Choosing Different Shoe Styles?
Yes, you can prevent wobbly heels by choosing shoe styles with better stability. Look for designs featuring wider bases and supportive structures, as these enhance heel stability and reduce the likelihood of wobbling during wear.