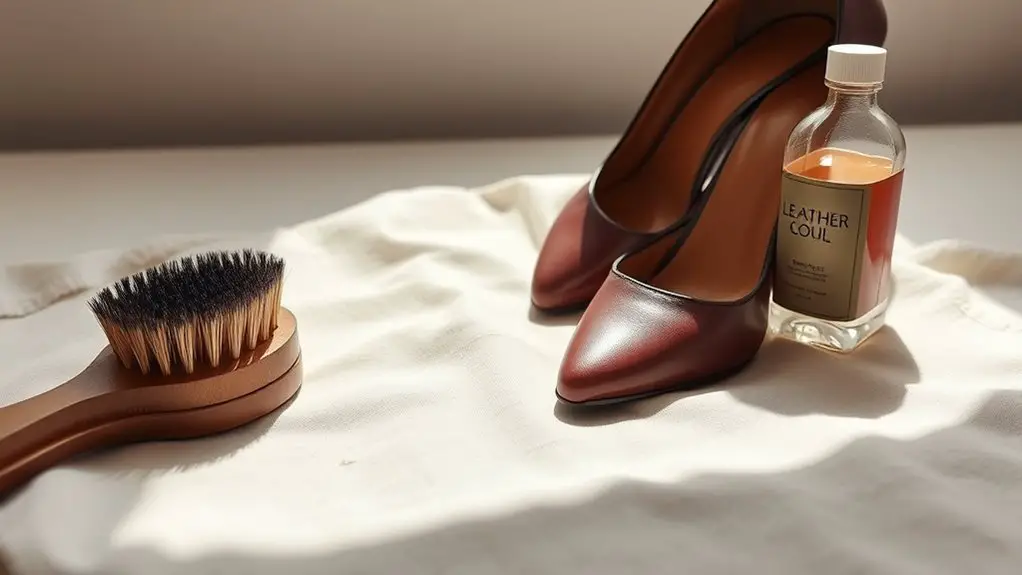
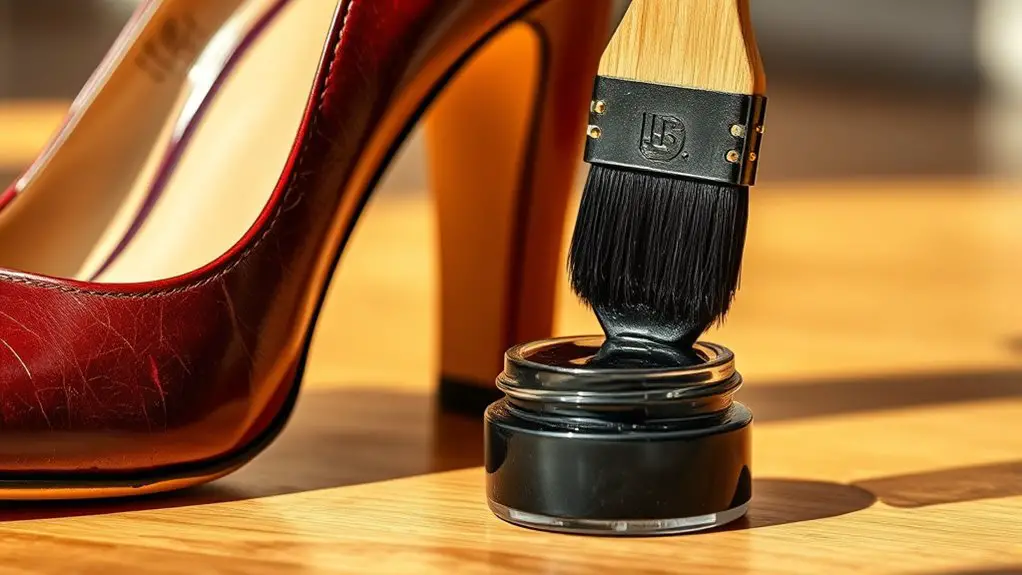
To fix scratched or scuffed heels at home, start by evaluating the damage. Gather supplies like rubbing alcohol, cotton balls, a soft cloth, and shoe polish. Clean the area gently, then use a damp Magic Eraser on scratches. Apply shoe polish that matches your shoe’s color to restore luster, and buff with a soft cloth for a polished finish. Regular cleaning and proper storage can keep your heels looking good, and there’s more to learn about maintaining them effectively.
Assessing the Damage: Understanding Your Heels

When it comes to evaluating the damage to your heels, the first step is to closely examine the scratches. Check the shoe material; leather, suede, and synthetic materials each react differently to damage types. For instance, minor scuffs on leather can often be buffed out, while deeper scratches may require more intensive repair.
Look for signs of discoloration or peeling, which can indicate the severity of the damage. If your heels are made of patent leather, you might notice a glossy finish is dulled. On the other hand, suede may show crushed fibers, making it look worn.
Identifying the damage type is essential; superficial scratches might be easily fixed, while gouges or tears indicate more serious issues. Taking a moment to assess these factors will guide you in choosing the best repair method for your specific heels.
Gathering Your Supplies: Household Items You’ll Need
To effectively tackle scratched heels, you’ll need just a few essential household items that can make a significant difference. These supplies will aid in the repair techniques you’ll use to restore your heels to their former glory.
| Household Item | Purpose |
|---|---|
| Rubbing alcohol | Cleans the area before repair |
| Cotton balls | Applies cleaner or polish |
| Shoe polish | Fills in scratches and adds shine |
Gathering these items will streamline the repair process, allowing you to focus on fixing the damage. You might also consider a soft cloth for polishing and an old toothbrush for hard-to-reach crevices. With the right household items at hand, you’re ready to embark on fixing those scuffed heels effectively. Just remember to work patiently and pay attention to detail for the best results!
Cleaning the Scuffed Area: Preparing for Repair

Before you can repair your scratched heels, you need to gather your cleaning supplies, such as a soft cloth and mild soap. Once you have everything ready, take a close look at the scuffed area to assess the damage level; this helps you determine the best cleaning method. A thorough cleaning will prepare the surface for the next steps in the repair process.
Gather Cleaning Supplies
Gathering the right cleaning supplies is essential for effectively addressing scratched heels. Start by collecting gentle cleaning materials, such as a soft cloth or sponge and mild soap or leather cleaner. Avoid harsh chemicals that could worsen the damage. You’ll also need a small brush to reach into crevices and a soft bristle toothbrush for detailed areas. If your heels are leather, consider having a leather conditioner on hand for damage prevention. A microfiber cloth is perfect for buffing out scuffs after cleaning. Make sure you have a workspace that’s clean and well-lit, allowing you to see the scratches clearly. With these supplies ready, you’ll be well-equipped to tackle those pesky scuffs and restore your heels to their former glory.
Assess Damage Level
Once you’ve gathered your cleaning supplies, it’s essential to assess the damage level of your scratched heels to determine the best course of action. Start by examining the scuffed area closely. Identify the damage types: superficial scratches might only require some polishing, while deeper cuts may need more extensive repair techniques. If the leather is just scuffed, a gentle cleaning with a damp cloth and a leather conditioner can suffice. However, if you notice cracks or missing material, you’ll need to contemplate using a leather filler or dye. By understanding the extent of the damage, you can choose the appropriate repair technique that’ll restore your heels and keep them looking sharp.
Using a Magic Eraser: The Quick Fix
When scratches mar your heels, a magic eraser can be your go-to solution for a quick fix. First, you’ll want to choose the right type of eraser to guarantee it’s effective without damaging the material. Then, follow a simple step-by-step process to restore your heels to their former glory.
Selecting the Right Eraser
Choosing the right eraser can make all the difference in effectively fixing scratched heels, and a Magic Eraser often serves as a quick and efficient solution. Magic Erasers are made from melamine foam, which is a versatile material that works well on various surfaces. When selecting an eraser, consider different eraser types, such as rubber or vinyl, but keep in mind that these may not be as effective on tougher marks. For scuffs on leather or synthetic materials, the softer texture of a Magic Eraser minimizes the risk of further damage. Make sure to test any eraser on a hidden area first, ensuring it won’t alter the finish of your heels before you embark on tackling those scratches.
Step-by-Step Application Process
With the right eraser in hand, you’re ready to tackle those scratched heels effectively. First, dampen the magic eraser slightly; this helps activate its cleaning power. Next, gently rub the eraser over the scratched area using a circular motion. You’ll notice the scratches starting to fade as the eraser lifts away the scuff marks. Be cautious not to apply too much pressure, as this could damage the heel’s surface. Once you’re satisfied with the results, wipe the area with a clean, dry cloth to remove any residue. This quick fix is one of the easiest DIY solutions for heel repair. Regularly using these repair techniques will help maintain your footwear’s pristine appearance, extending its life considerably.
Applying Shoe Polish: Restoring Color and Luster

Applying shoe polish is an effective way to breathe new life into your scratched heels, as it not only restores the color but also enhances the overall luster of the leather. Start by choosing a polish that closely matches the original color of your shoes; this color matching is essential for achieving a seamless look. Use a clean, soft cloth to apply the polish, working it into the scratched areas gently.
Once you’ve covered the scuffs, let the polish sit for a few minutes to penetrate the leather. After that, buff the shoes with a separate cloth to achieve shine restoration. This step not only makes your shoes look polished but also helps protect the leather from future damage. Remember, a little goes a long way, so start with a small amount of polish and build up as needed for the best results.
Using Nail Polish: A DIY Touch-Up
If you’re looking for a quick and budget-friendly way to touch up those scratches on your heels, using nail polish can be an effective DIY solution. First, choose a nail polish color that closely matches your shoe; this will help the repair blend seamlessly. Lightly clean the scratched area to remove any dirt or oils before you start.
Next, use a fine brush or a toothpick for precise application. Dip it into the nail polish and carefully apply a thin layer over the scratch. Avoid overloading the brush; less is more here. If the scratch is deep, you might need to apply a second coat once the first has dried. Allow the polish to dry completely before wearing your shoes again. This simple technique can refresh your heels and extend their life, making them look as good as new without breaking the bank.
Buffing With a Soft Cloth: Finishing Touches
A soft cloth can be your best friend when it comes to giving your heels that polished finish after touching up scratches. Once you’ve applied your chosen finishing products, it’s time to use buffing techniques to enhance the look. Start with a clean, dry microfiber cloth, as it won’t scratch the surface.
Gently rub the cloth in circular motions over the repaired areas, focusing on blending the edges of the touched-up scratches with the surrounding material. This helps to create a seamless appearance. If you’re using a finishing product, follow the manufacturer’s instructions for buffing; some may require a specific technique or duration for ideal results.
Make sure to pay attention to any remaining scuffs, as a little extra buffing can often make a significant difference. With a little patience and care, your heels will be looking revitalized and ready to wear again!
Preventative Measures: Keeping Your Heels Scuff-Free
Although scuffs can happen unexpectedly, there are several effective measures you can take to keep your heels looking pristine. First, invest in proper shoe storage solutions. Keep your heels in a dust-free environment, using shoe boxes or organizers that prevent them from rubbing against each other. This minimizes friction and potential damage.
Additionally, consider using heel caps or protective stickers that adhere to the bottom of your heels. These provide an extra layer of surface protection, absorbing impact and preventing scratches.
When wearing your heels, try to avoid rough surfaces or crowded areas that could lead to scuffs. Opt for carpeted or soft flooring when possible.
Finally, always clean your heels after wearing them. Wipe away dirt and debris to prevent buildup that can cause scratches over time. By implementing these preventative measures, you’ll keep your beloved heels in excellent condition for longer.
When to Seek Professional Help: Knowing Your Limits
When you’re faced with scratched heels, it’s vital to assess the severity of the damage before attempting any repairs. Consider the material of your heels, as different fabrics and finishes may require specialized approaches. If you’re short on time or lack the necessary skills, it might be wise to consult a professional to guarantee your heels are restored properly.
Severity of Damage
Determining the severity of damage to your heels is essential, as not all scratches can be treated effectively at home. Conduct a damage assessment to identify the types of scratches and decide whether to tackle the repairs yourself or seek professional help. Here are four signs you should consult an expert:
- Deep Scratches: If the scratch penetrates the material greatly, professional restoration may be needed.
- Multiple Scratches: A cluster of scratches could indicate more extensive damage that requires specialized tools.
- Material Compromise: If the heel structure is weakened or compromised, it’s time to get professional advice.
- Persistent Marks: If attempts to fix the scratches don’t work, a professional can provide a more lasting solution.
Material Considerations
Knowing the material of your heels is essential, as different substances require specific care and repair methods. If your heels are made of leather, proper leather care is vital. You can often polish minor scratches away, but deeper scuffs might need a professional touch. On the other hand, if you’re dealing with suede, it’s important to use suede protection products to prevent further damage. Suede can be more challenging to repair, as it tends to absorb stains and scuffs. If the damage is extensive, or if you’re unsure how to proceed without causing more harm, it’s best to consult a professional. Knowing when to seek help is key to preserving the life of your heels.
Time and Skills Needed
If you’re unsure about your ability to repair scratched heels, it’s important to assess both the time you can dedicate and the skills you possess. Here are some factors to evaluate:
- Time Requirements: Can you spare an hour or two for the repair process?
- Skill Levels: Do you have experience with DIY repairs or are you a complete novice?
- Complexity of Damage: Is the scratch superficial, or does it require advanced techniques?
- Tools and Materials: Do you have the necessary supplies, or will you need to shop for them?
If you find that your time or skills fall short, it might be best to seek professional help. Knowing your limits guarantees you achieve the best results without frustration.
Maintaining Your Shoes: Tips for Longevity
While you might love the look of your favorite shoes, maintaining them is essential for extending their lifespan and keeping them in top condition. Start with a consistent cleaning routine; wipe off dirt and grime after each wear. Use appropriate cleaners for different materials—leather, suede, or fabric— to avoid damage.
Proper shoe storage is equally important. Keep your shoes in a cool, dry place, ideally in their original boxes or on a dedicated shelf. Use shoe trees to help maintain shape and prevent creasing. If you’re storing them for a longer period, consider silica gel packets to absorb moisture.
Additionally, rotate your shoes regularly to avoid excessive wear on a single pair. Applying a protective spray can also shield your shoes from stains and water damage. By following these tips, you’ll preserve your shoes’ appearance and functionality for years to come.
Frequently Asked Questions
Can I Use Toothpaste to Fix Heel Scratches?
Using toothpaste to fix heel scratches can be as effective as a magic eraser. It’s a practical shoe maintenance trick, but results may vary. Don’t expect miracles; always consider professional repair for extensive damage.
How Do I Prevent Future Heel Scuffs?
To prevent future heel scuffs, invest in quality shoe care products. Regularly apply leather protection spray, and store your shoes properly. This’ll keep them looking great and safeguard against scratches and scuffs over time.
Is It Safe to Use Vinegar on Leather Heels?
Using vinegar on leather heels isn’t always safe. While vinegar has cleaning properties, it can damage leather. For proper leather care, stick to products specifically designed for leather to avoid compromising your shoes’ integrity.
What Types of Shoes Can Be Repaired at Home?
You won’t believe how many types of shoes you can repair at home! From sneaker repairs to boot maintenance, tackling minor issues like scuffs or loose soles can save you money and extend their lifespan considerably.
How Often Should I Polish My Heels?
You should polish your heels every few weeks for ideal leather care. Regular polishing frequency helps maintain the shoe’s appearance, protects against scuffs, and prolongs their lifespan, ensuring they always look their best.
