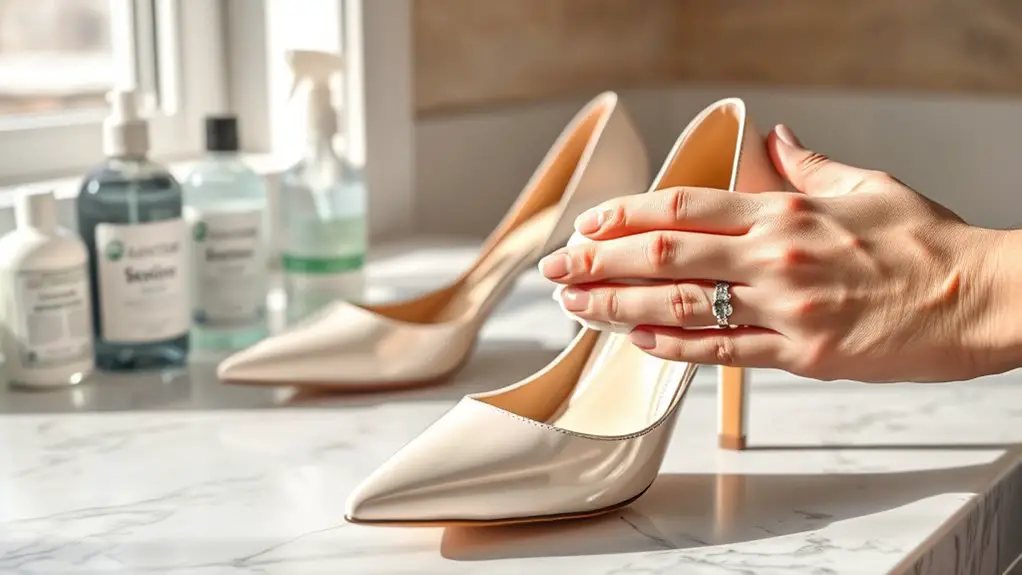
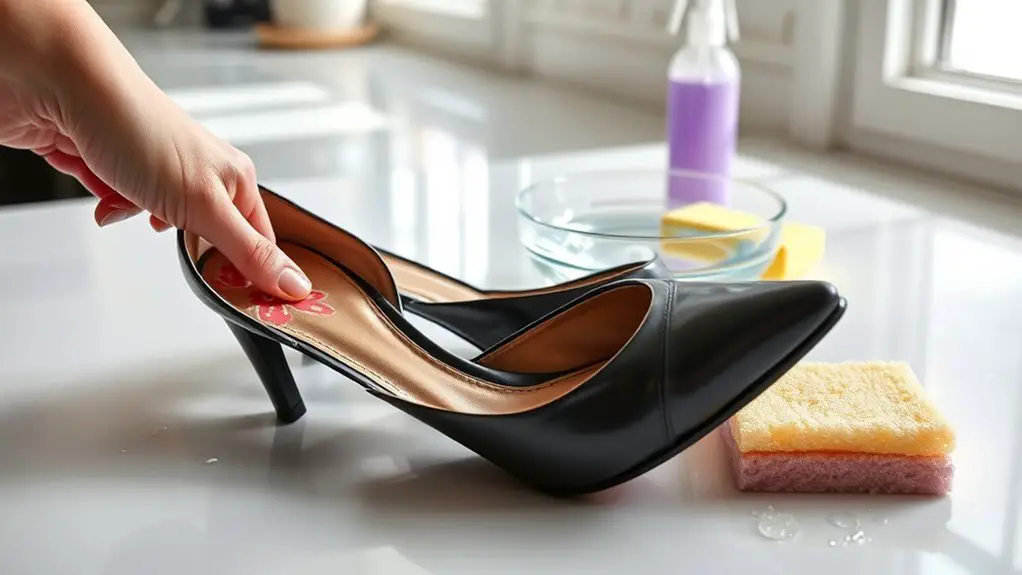
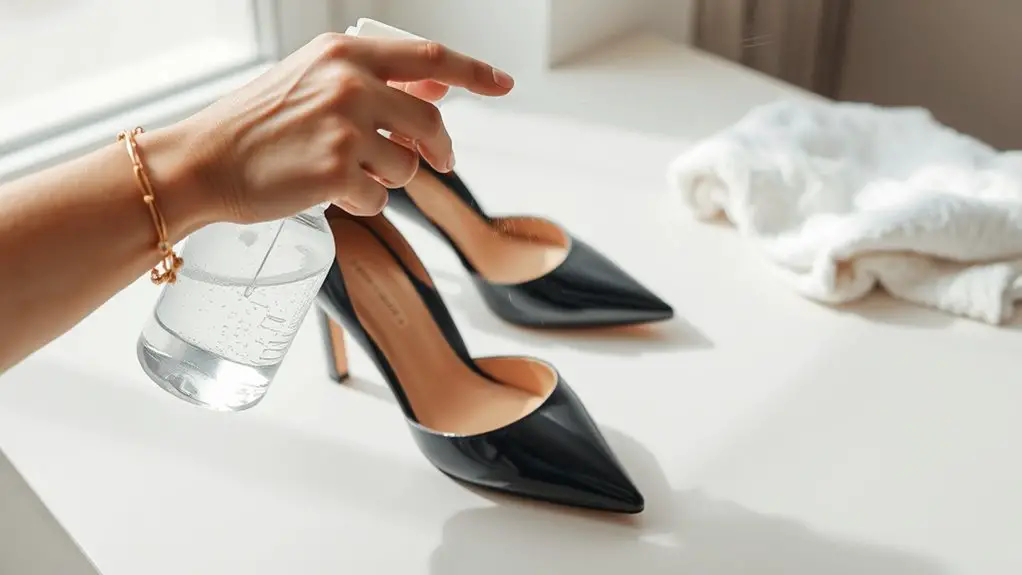
To disinfect second-hand heels, first gather your cleaning supplies, like a reliable disinfectant and soft cloths. Remove the insoles and clean them separately based on their material. Wipe down the exterior with a disinfectant solution, paying special attention to seams and textured areas. Deodorize the interior with baking soda or vinegar, and let everything dry completely to prevent mold. Finally, store your heels properly to maintain their condition. Follow along to discover more effective cleaning tips.
Why Disinfecting Second-Hand Heels Is Essential

Although second-hand heels can be a stylish and cost-effective addition to your wardrobe, disinfecting them is vital for your health and hygiene. When you wear previously owned shoes, you’re unknowingly exposing yourself to potential health risks. These can include bacteria, fungi, and viruses left behind by previous owners. Such pathogens can lead to infections, foot irritations, or even allergic reactions.
Implementing effective hygiene practices is important in mitigating these risks. Start by thoroughly inspecting the heels for any visible signs of dirt or damage. Then, make sure you clean and disinfect the insoles, as they harbor the highest concentration of bacteria. A proper disinfection routine not only protects your feet but also prolongs the lifespan of the shoes. By taking these precautions, you can confidently wear your second-hand heels while prioritizing your health and maintaining excellent hygiene standards.
Gather Your Cleaning Supplies
Once you’ve recognized the importance of disinfecting second-hand heels, it’s time to gather your cleaning supplies. Having the right cleaning tools is essential for effectively sanitizing your shoes. Here’s what you’ll need:
Recognizing the need for disinfecting second-hand heels is just the first step; gathering the right supplies is essential for the job.
- Disinfectant Sprays: Choose a reliable disinfectant spray that’s safe for fabric and leather. This will help eliminate germs and odors.
- Soft Cloths: Get a couple of microfiber or cotton cloths for wiping surfaces without scratching.
- Toothbrush or Soft Brush: Use this to gently scrub hard-to-reach areas, especially around the soles and seams.
- Warm Water: Mix it with your disinfectant for a more thorough clean, ensuring you follow the product instructions.
With these supplies in hand, you’ll be well-prepared to tackle the cleaning process effectively, ensuring your second-hand heels are fresh and ready to wear.
Remove Insoles and Clean Them Separately

Before you start cleaning your second-hand heels, it’s essential to remove the insoles and assess their material. Different materials require specific cleaning agents to avoid damage, so choose appropriately. After cleaning, make sure the insoles dry thoroughly before placing them back into the shoes to prevent any moisture buildup.
Check Insole Material
To effectively disinfect second-hand heels, you should first check the insole material, as different materials require specific cleaning methods. Understanding insole types is essential for guaranteeing material safety and longevity. Here’s how to identify and clean various insole materials:
- Foam: Use mild soap and warm water; avoid soaking.
- Leather: Wipe with a damp cloth and apply a leather conditioner afterward.
- Fabric: Hand wash with detergent and air dry to prevent shrinking.
- Gel: Clean with a soft cloth and alcohol; make sure it’s completely dry before reinserting.
Use Appropriate Cleaners
Using the right cleaners is essential for effectively disinfecting second-hand heels, and removing the insoles is a key first step. Once you’ve taken out the insoles, it’s important to choose appropriate cleaning solutions based on their surface types. For leather insoles, opt for a gentle leather cleaner to avoid damage. If the insoles are made of fabric, a mild detergent mixed with water can do the trick. Be sure to use a soft cloth or sponge to apply the cleaner; this minimizes the risk of scratching the material. After cleaning, rinse thoroughly if necessary, and allow them to air dry completely. This approach not only disinfects but also helps maintain the integrity of your new heels.
Dry Thoroughly Before Replacing
After cleaning the insoles, it’s vital to guarantee they dry thoroughly before replacing them in the heels. This step is important for moisture prevention, as lingering dampness can lead to odor and mold. Here are some effective drying techniques:
- Air Dry: Place the insoles in a well-ventilated area, away from direct sunlight.
- Fan Dry: Use a small fan to circulate air around the insoles, speeding up the drying process.
- Towel Absorption: Press a dry towel against the insoles to absorb excess moisture before air drying.
- Silica Gel Packs: Insert silica gel packs to absorb residual moisture, ensuring they’re completely dry.
Implementing these methods will help maintain the integrity of your second-hand heels while preventing future issues.
Wipe Down the Exterior With Disinfectant

Before you slip on those stylish second-hand heels, it’s important to ascertain they’re free from germs and bacteria. Start by selecting appropriate disinfectant options; a mixture of isopropyl alcohol and water works well for most materials. Use a clean cloth or paper towel for application—this guarantees you’re not spreading additional contaminants.
Gently wipe down the exterior, paying special attention to seams and any textured areas where dirt might hide. If your heels are made of leather, consider using a specialized leather cleaner that includes disinfecting properties. For synthetic materials, a standard disinfectant spray can be effective.
Remember to test any cleaning techniques on a small, inconspicuous area first to prevent damage. Allow the disinfectant to sit for a few minutes before wiping it off, maximizing effectiveness against germs. Once done, your heels will be ready to step out in style, safely.
Sanitize the Insoles
To effectively sanitize the insoles of your second-hand heels, start by selecting a suitable disinfectant that’s safe for the material. Carefully scrub the insoles to remove any dirt and bacteria, ensuring you reach all nooks and crannies. After cleaning, allow the insoles to dry completely to prevent moisture buildup before you slip them back on.
Choose Appropriate Disinfectant
Choosing the right disinfectant for sanitizing the insoles of second-hand heels is essential, as it guarantees effective removal of bacteria and odors while being safe for the shoe material. Here are some options to take into account:
- Isopropyl Alcohol: A strong disinfectant that evaporates quickly, reducing moisture risk.
- White Vinegar: A natural alternative that helps eliminate odors and bacteria without harsh chemicals.
- Baking Soda: Sprinkle it on insoles for odor absorption; it’s safe and non-toxic.
- Commercial Shoe Sprays: Look for those labeled as safe for fabrics and with a focus on chemical safety.
Always test a small area first to verify compatibility with your shoe material. With these options, you’ll maintain both hygiene and the integrity of your heels.
Scrub Thoroughly and Carefully
After selecting the right disinfectant, the next step is to sanitize the insoles effectively. Start by removing the insoles from the heels, if possible. Use a soft brush or cloth and apply your disinfectant, focusing on the areas that come into direct contact with your feet. Employ scrubbing methods that are gentle yet thorough; circular motions work well to lift dirt and grime without damaging the material. For stubborn stains, consider using a mixture of water and mild soap as a cleaning technique before reapplying the disinfectant. Rinse with a damp cloth and verify that no residue remains. This meticulous scrubbing process guarantees that your insoles are clean, fresh, and ready for safe wear.
Dry Completely Before Wearing
It’s crucial to guarantee your insoles are completely dry before slipping your feet into those second-hand heels. Moisture can lead to discomfort and even mold growth, so take the necessary time to dry them properly. Here are some effective drying methods to take into account:
- Air Drying: Place the insoles in a well-ventilated area for several hours. This may take 4-6 hours depending on humidity.
- Towel Drying: Pat them with a clean, dry towel to absorb excess moisture before air drying.
- Fan Drying: Use a fan to circulate air around them, reducing drying time considerably.
- Low-Heat Drying: If necessary, use a hairdryer on a low setting, keeping it at least 12 inches away to avoid damage.
Ensure they’re fully dry to enjoy your second-hand heels safely!
Deodorize the Interior
Deodorizing the interior of second-hand heels is essential for guaranteeing they feel fresh and inviting. To achieve ideal interior freshness, start by removing any insoles if possible. Sprinkle a generous amount of baking soda inside the heels; this natural ingredient is excellent for odor elimination. Let it sit overnight to absorb any lingering smells.
Afterward, shake out the excess baking soda and use a soft brush or cloth to clean the interior gently. If you’re dealing with stubborn odors, consider using a mixture of equal parts water and white vinegar in a spray bottle. Lightly mist the interior, then wipe it down with a cloth. Allow the shoes to air out completely in a well-ventilated area. By following these steps, you’ll guarantee that your second-hand heels not only smell pleasant but also provide a more enjoyable wearing experience.
Allow Shoes to Dry Completely
Allowing your second-hand heels to dry completely is essential for maintaining their condition and preventing any potential damage. Moisture left in shoes can lead to mold, unpleasant odors, and deterioration of materials. Here are effective drying methods to keep in mind:
Properly drying your second-hand heels is crucial to prevent mold and odors, ensuring their longevity and condition.
- Air Drying: Place your heels in a well-ventilated area away from direct sunlight to prevent discoloration.
- Use Newspaper: Stuff the insides with crumpled newspaper to absorb moisture, changing it regularly until dry.
- Drying Rack: Utilize a shoe drying rack that promotes airflow, ensuring even drying throughout.
- Avoid Heat Sources: Never use hair dryers or heaters, as excessive heat can warp materials and ruin the heels.
Incorporating these shoe care techniques will help keep your second-hand heels in excellent shape for future wear. Always prioritize thorough drying to maintain the integrity of your footwear.
Store Your Heels Properly After Cleaning
Once your second-hand heels are thoroughly dried, proper storage is essential for preserving their shape and condition. Start by using original boxes or dedicated shoe storage containers to protect them from dust and damage. If you don’t have the original boxes, opt for breathable fabric bags, ensuring they allow air circulation to prevent moisture buildup.
Stuff the heels with tissue paper or shoe trees to maintain their structure and avoid creasing. Avoid storing them in direct sunlight or humid areas, as this can lead to fading and material degradation.
For additional cleaning tips, consider placing silica gel packets in the storage containers to absorb excess moisture. Regularly check on your heels, ensuring they remain in pristine condition. By following these shoe storage practices, you’ll extend the life of your second-hand heels, keeping them looking as good as new for years to come.
Frequently Asked Questions
Can I Use Regular Household Cleaners Instead of Disinfectants?
You can use household cleaners, but their effectiveness may not match disinfectants. While some alternatives can reduce germs, make certain you read labels for proper usage. Always prioritize thorough cleaning to maintain safety and hygiene.
How Often Should I Disinfect My Second-Hand Heels?
Think of your heels as delicate flowers needing care. For ideal heel maintenance, disinfect them after every wear. Frequency recommendations suggest deeper cleans weekly, ensuring they stay fresh and ready for your next stylish adventure.
Is It Safe to Use Bleach on Shoes?
Using bleach on shoes isn’t safe for most materials, as it can cause damage. Instead, consider bleach alternatives like vinegar or rubbing alcohol, which effectively disinfect without compromising shoe material safety. Always test on a small area first.
What if My Heels Have Scuff Marks or Scratches?
Imagine a canvas, marred yet beautiful. For scuff removal, use a quality shoe repair kit; gentle cleaning with a soft cloth works wonders. Embrace imperfections, but restore your heels to their former glory with care.
Can I Disinfect Heels Made of Different Materials the Same Way?
You can’t use the same disinfecting methods for all materials. Check material compatibility first; leather and suede require different techniques than synthetic fabrics. Always test a small area before applying any disinfectant to avoid damage.
