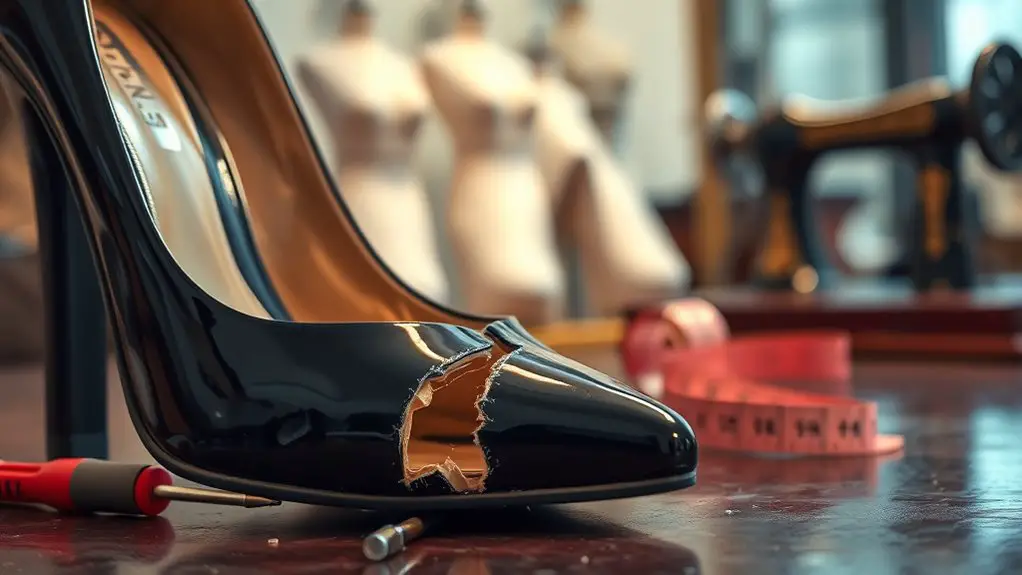
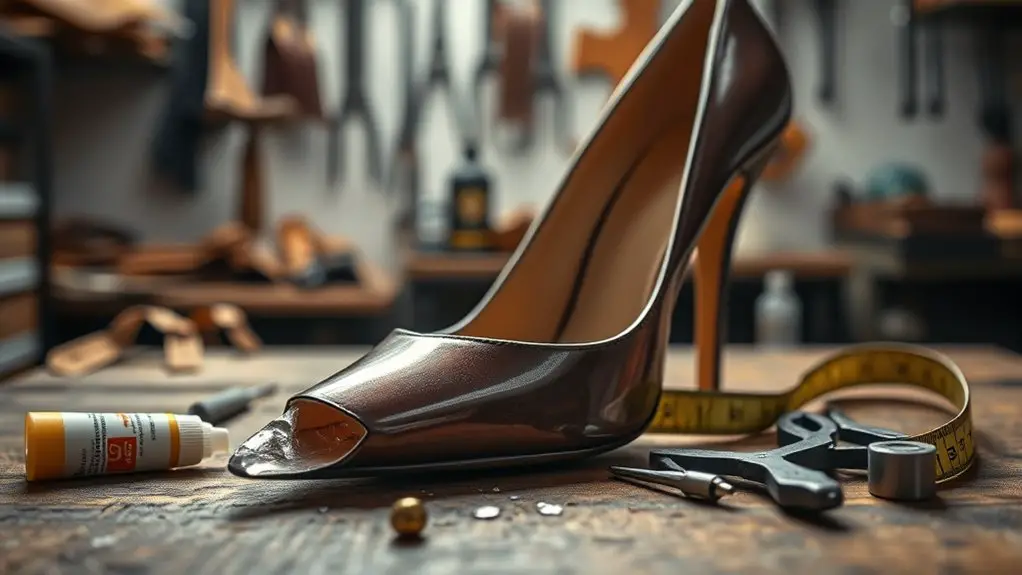
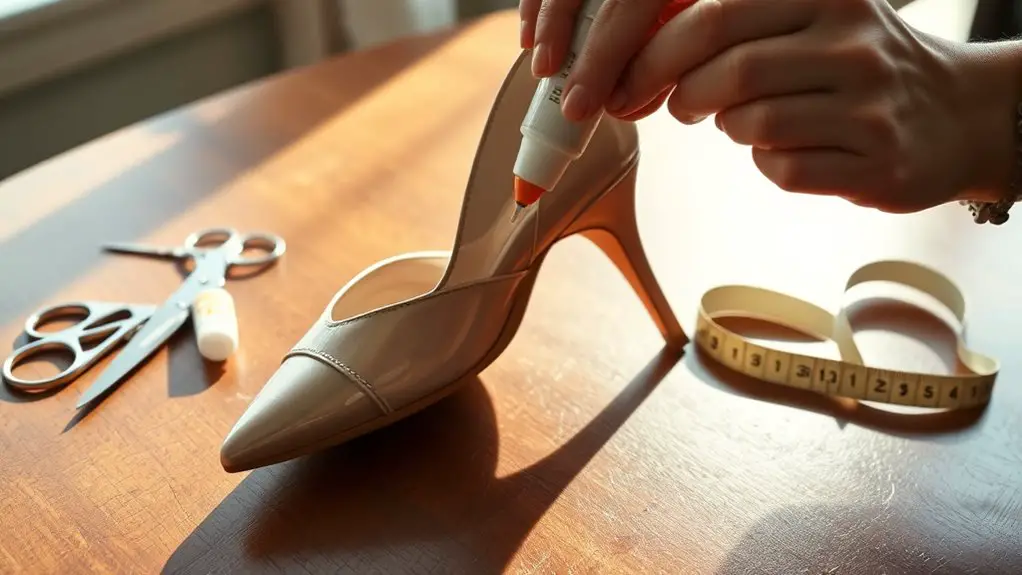
When fixing a broken heel, assess the damage first. If it’s a clean break and made of materials like wood or plastic, you might handle it with the right tools and adhesive. However, if the damage is severe, or the heel is detached, it’s best to see a cobbler for proper repair. They have specialized skills and can extend the life of your shoes effectively. Learn more about the types of damages and additional repair options.
Understanding the Different Types of Broken Heels

When it comes to broken heels, understanding the different types can help you determine the best repair method for your specific situation. Heels generally fall into three categories: block heels, stiletto heels, and wedge heels. Each heel type has unique structural attributes that affect repair techniques.
For block heels, you might only need to replace a small section or patch the area, as they often have a wider base. Stiletto heels, however, usually require more precise interventions, like reattaching the heel tip or even replacing the entire heel if it’s broken off. Wedge heels tend to be more stable but can still suffer from cracks or detached sections.
Knowing these distinctions allows you to choose suitable repair materials—like epoxy for stiletto repairs or wood glue for block heels—ensuring your shoes are restored effectively and safely.
Common Causes of Broken Heels
When it comes to broken heels, two common causes often stand out: poor material quality and excessive wear and tear. If you’re using shoes made from subpar materials, you’re more likely to face fractures and breaks. Additionally, frequent use without adequate maintenance can lead to structural fatigue, increasing the risk of heel damage.
Poor Material Quality
Although many factors can contribute to broken heels, poor material quality is often the most significant. When shoes are made from inferior materials, they’re prone to failure, especially at stress points like the heel. Low durability materials, such as cheap plastics or subpar leather, won’t withstand regular use, leading to cracks or breaks. Additionally, poor craftsmanship can exacerbate these issues; if the heel isn’t securely attached or the materials aren’t properly treated, it’s only a matter of time before you face a break. To guarantee longevity, invest in footwear made from high-quality materials, and pay attention to construction details. A well-made pair of shoes will save you from frequent repairs and frustrations down the line.
Excessive Wear and Tear
Excessive wear and tear on heels often results from a combination of daily activities and improper care. When you frequently wear high heels or shoes that lack adequate support, you’re subjecting them to excessive use, which can lead to cracks and breaks. Additionally, neglecting routine maintenance, like cleaning and conditioning the material, can accelerate deterioration. Factors such as uneven surfaces and prolonged standing also contribute to heel damage. To enhance heel longevity, it’s essential to rotate your footwear, allowing each pair to rest, and to avoid using them for strenuous activities. Regular inspections for signs of wear can help you catch issues early, ensuring you can address them before they escalate into more significant problems.
Assessing the Damage: Can You DIY?

How can you determine if your broken heel is a candidate for a DIY repair? Start by examining the damage indicators. If the heel is merely cracked or has a small break, you may be able to use DIY techniques to fix it. Assess the material: wood and plastic heels often lend themselves well to home repairs, while leather may require more expertise. Look for signs of extensive wear or structural damage; if the heel feels loose or unstable, it’s best to consult a cobbler.
Next, check the separation between the heel and the shoe. A clean break with minimal debris usually indicates a viable DIY project. However, if the heel is shattered or the shoe is heavily compromised, professional help is essential. In short, if the damage seems manageable and you have confidence in your repair skills, you can likely tackle it yourself. Otherwise, seek expert assistance.
Essential Tools for DIY Shoe Repair
When tackling a DIY shoe repair, having the right tools is vital for achieving a successful fix. Start with a strong shoe adhesive, specifically designed for the materials of your footwear. This guarantees a durable bond that can withstand daily wear. Next, invest in a quality repair kit that includes essential items such as a variety of patches, a precise applicator, and sandpaper for surface preparation.
You’ll also need a pair of sturdy scissors for trimming any excess material and a set of clamps or weights to hold the repaired sections together while the adhesive cures. A utility knife can help with precise cuts, especially if you’re working with leather or rubber. Finally, keep a clean workspace and have some paper towels handy for any accidental spills. With these tools in hand, you’ll be well-equipped to tackle common shoe repair tasks effectively.
Step-by-Step Guide to Fixing a Broken Heel at Home

Before you begin the repair process for a broken heel, it’s essential to assess the damage and gather your materials. For effective heel repair techniques, you’ll need a strong adhesive, replacement heel tips, sandpaper, and DIY shoe materials such as leather or rubber patches.
Here’s a quick reference table to guide you:
| Material | Purpose | Example |
|---|---|---|
| Strong Adhesive | Bonding broken pieces | Epoxy or super glue |
| Replacement Heel Tips | Renew heel’s functionality | Rubber or plastic heel tips |
| Sandpaper | Smoothing edges | Medium grit 120-220 sandpaper |
Start by cleaning the area around the break, then apply the adhesive and clamp the pieces together until set. Replace the heel tip if necessary, and finish by sanding for a smooth surface. Following these steps should help restore your shoe’s functionality.
When DIY Repairs Aren’t Enough
Sometimes, your DIY repairs just won’t cut it, especially when you’re facing severe damage that compromises structural integrity. You might also run into material compatibility issues, where the glue or patch you used isn’t suitable for the shoe’s material. In these cases, it’s vital to recognize when it’s time to seek professional help to guarantee a lasting fix.
Severe Damage Assessment
Although DIY repairs can be effective for minor heel issues, evaluating severe damage requires a more critical approach. If you notice cracks, broken pieces, or significant detachment, it’s time to assess the situation thoroughly. Use the following table to help with your damage evaluation:
| Damage Type | DIY Repair Feasibility | Recommended Action |
|---|---|---|
| Cracked Heel | Limited | Consult a cobbler |
| Detached Heel Cap | Not advisable | Seek professional repair |
| Broken Heel Block | Not advisable | Seek professional repair |
| Major Material Wear | Limited | Consult a cobbler |
| Structural Instability | Not advisable | Seek professional repair |
When faced with severe damage, don’t hesitate to seek professional help for best results.
Material Compatibility Issues
When tackling heel repairs, understanding material compatibility is essential, as mismatched materials can lead to ineffective repairs or further damage. Different material types, like leather, rubber, and synthetic fabrics, respond uniquely to adhesives and repair techniques. For instance, using a rubber adhesive on a leather heel may not bond properly, compromising the repair’s integrity. Additionally, certain materials may require specific treatments or finishes that aren’t compatible with others, causing deterioration over time. If you’re unsure about the materials involved, it’s wise to consult a professional cobbler who can identify these compatibility issues and provide the right solutions. DIY repairs might save money, but using incompatible materials can end up costing you more in the long run.
Choosing the Right Cobbler for Your Needs
How do you find the right cobbler for your specific needs? Start by researching local cobbler services online or asking friends for recommendations. Look for cobblers who specialize in shoe repair, particularly the type of footwear you need help with—whether it’s heels, boots, or athletic shoes. Check their websites or social media for customer reviews and photos of previous work.
Next, visit a few cobblers in person. Pay attention to their shop’s cleanliness and organization; a well-kept workspace often indicates professionalism. Don’t hesitate to ask about their experience with different materials and repairs.
Lastly, inquire about turnaround times and pricing. A good cobbler should provide clear estimates and explain what services they offer, such as resoling or heel replacement. By taking these steps, you’ll be better equipped to choose a cobbler who meets your shoe repair needs efficiently and effectively.
The Benefits of Professional Shoe Repair
While you might consider replacing a damaged pair of shoes, opting for professional shoe repair offers numerous advantages that can save you time and money. Here are three key benefits:
- Expertise: Cobblers possess specialized knowledge and skills, allowing them to assess damage accurately and apply the best repair techniques, ensuring your shoes regain their functionality and aesthetics.
- Cost-Effectiveness: Repair costs are often considerably lower than purchasing new shoes, especially for high-quality footwear. Investing in repairs can extend the life of your shoes, promoting shoe longevity and reducing waste.
- Customization: Professional repairs can be tailored to your specific needs, whether you require heel replacements, sole refinishing, or stitching repairs. This personalized service helps maintain your shoe’s original fit and comfort.
Preventative Measures to Avoid Future Heel Breaks
To prevent future heel breaks, it’s essential to adopt a proactive approach to shoe care and usage. Start by ensuring your shoes have adequate heel protection. Consider investing in rubber heel caps or protective pads, which can absorb shock and reduce wear on the heel. Next, make it a habit to perform regular maintenance. Inspect the heels for signs of damage or wear, such as cracks or uneven surfaces, and address these issues promptly. Additionally, rotate your shoes regularly to minimize strain on any single pair. When walking on uneven surfaces or rough terrain, be mindful of your footing to prevent abrupt impacts. Furthermore, store your shoes properly; avoid stacking them, which can distort their shape and structure. By implementing these preventative measures, you can greatly extend the lifespan of your heels and maintain their integrity, reducing the risk of future breaks.
Frequently Asked Questions
How Much Does It Typically Cost to Repair a Broken Heel?
Repair costs for a broken heel can vary widely, typically ranging from $10 for DIY options to $50 or more at a cobbler. Assess your skills and the damage before deciding on the best approach.
Can a Broken Heel Affect Shoe Comfort and Fit?
A broken heel can drastically alter shoe comfort and fit; studies show 70% of wearers report discomfort. Without proper heel support, shoe alignment is compromised, leading to pain and instability during wear.
What Types of Heels Are Most Prone to Breaking?
Stiletto heels and kitten heels are often most prone to breaking due to their slender structure, while wedge and block heels offer more stability. Platform heels can also break, especially if they’re poorly constructed or worn frequently.
How Long Does a Professional Heel Repair Usually Take?
A professional heel repair typically takes one to three days, depending on the repair techniques used and heel materials. Complex repairs may require more time, as cobblers guarantee durability and quality in their work.
Are There Any Home Remedies for Temporary Heel Fixes?
For temporary fixes, you can use super glue for small cracks or tape to secure loose parts. DIY solutions like using a rubber band for stability can also help until you get a professional repair.
