Ready to transform your heels into sparkly showstoppers? Start by gathering your glitter, adhesive, and painter’s tape. Choose a style that suits your vibe—classic stiletto or fun platform. Clean your heels, apply a thin layer of adhesive, and generously sprinkle glitter for that dazzling effect. Don’t forget to seal your design to keep the sparkle intact! Get set to turn heads at your next event—keep going to discover more tips for your glittering masterpiece!
Gather Your Materials

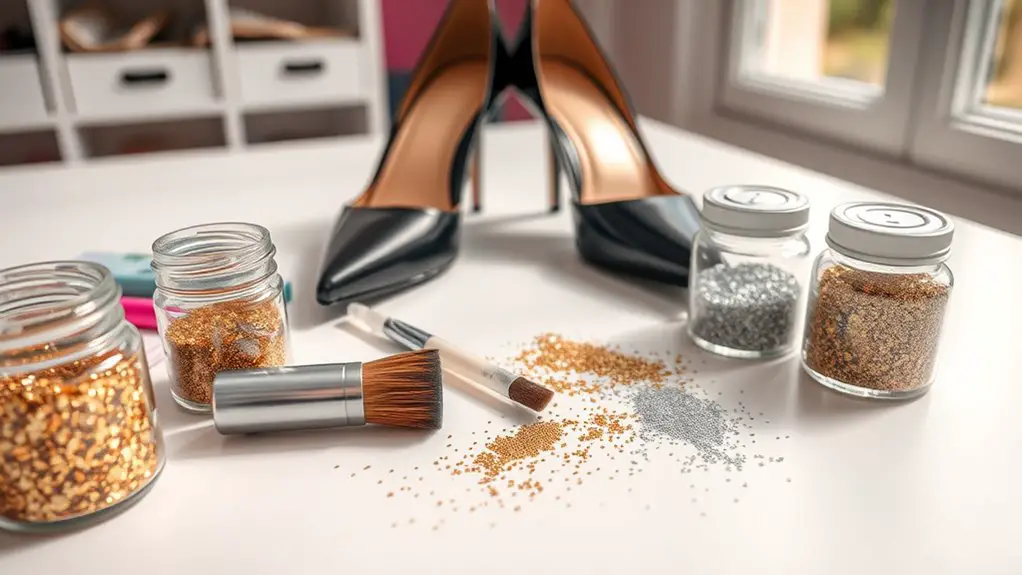
Before diving into your DIY glitter heels project, you’ll want to gather a few essential materials. Start with your materials checklist: a pair of heels, fine glitter in your favorite shade, and a strong craft adhesive. You’ll also need painter’s tape to protect any areas you don’t want to glitter up, and a soft brush for even application.
Don’t forget essential tools like a small bowl for mixing your glitter and glue, and a pair of scissors for trimming the tape. If you’re feeling extra creative, consider adding a sealant spray to keep your sparkles intact after your masterpiece is complete. Having everything ready before you start will make the process smoother and more enjoyable. Trust me, you’ll love the transformation, so prep those materials and get ready to shine!
Choose the Right Pair of Heels
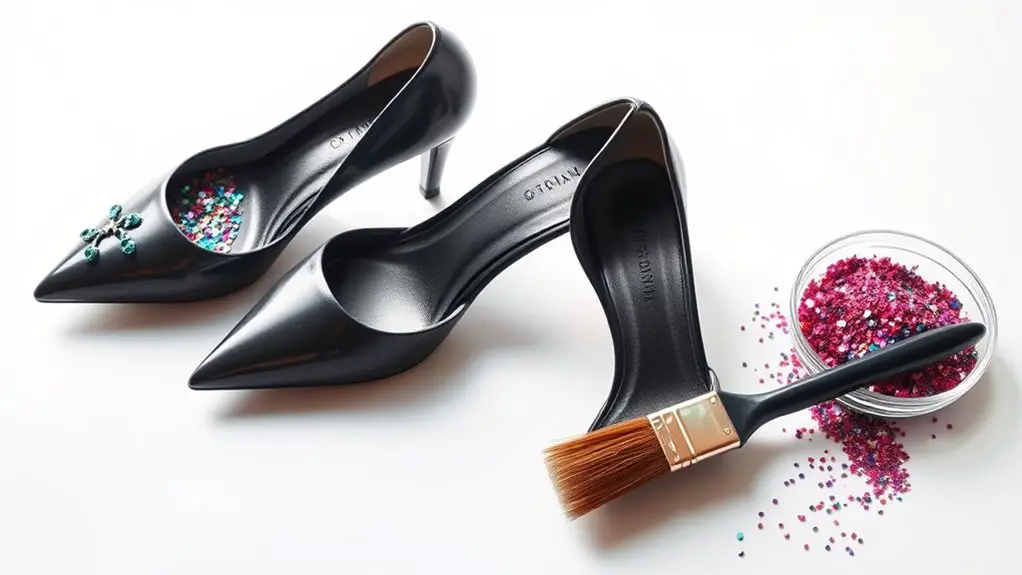
Have you ever wondered how to pick the perfect pair of heels for your glitter transformation? Choosing the right heel styles is essential for achieving that stunning look you envision. First, consider the occasion—are you going for a classic stiletto, a chic block heel, or maybe something fun like a platform? Each style can change the vibe of your glittery creation.
Next, think about the color options. Do you want to go bold with hot pink or keep it classy with gold or silver? Remember, the shade of glitter you choose will influence the overall effect, so pick a color that complements your heels. It’s all about expressing your personality! With the right heel styles and color options in mind, you’ll be ready to make your glitter heels a true statement piece. Happy crafting!
Prepare the Shoes for Glitter

Now that you’ve selected the perfect heels for your glitter project, it’s time to get them ready for some sparkle! Proper shoe preparation is essential for a fabulous finish. Start by removing any old decorations or accessories.
Next, focus on surface cleaning. Use a damp cloth to wipe down the shoes and eliminate any dust or dirt. This guarantees the glitter adheres properly.
Here’s a quick checklist to help you through the preparation:
| Step | Action |
|---|---|
| 1. Remove | Take off any old embellishments |
| 2. Clean | Wipe the shoes with a damp cloth |
| 3. Dry | Let them dry completely |
| 4. Inspect | Check for any scuffs or imperfections |
| 5. Ready | Your shoes are now ready for glitter! |
After this prep, you’re one step closer to creating those dazzling DIY glitter heels!
Apply the Adhesive
Now that your shoes are prepped, it’s time to get sticky! Choosing the right adhesive is key—make certain it’s suitable for fabric and glitter, then apply it evenly and thoroughly for the best results. Don’t rush the process; allowing it to dry completely will guarantee your sparkly masterpiece stays dazzling!
Choose the Right Adhesive
Choosing the right adhesive can make or break your DIY glitter heels, so it’s vital to pick one that bonds well with both your shoe material and glitter. Different fabric types, like leather, canvas, or synthetic materials, require specific adhesives. For instance, a strong fabric glue works wonders on canvas, while a clear-drying E6000 is perfect for leather. Look for adhesive properties that guarantee flexibility and durability; you don’t want your sparkly masterpiece falling apart! Also, consider the drying time—some adhesives set quickly, while others give you a little more playtime. Don’t skimp on quality; investing in a good adhesive can elevate your project from basic to fabulous! Choose wisely, and let the glitter shine!
Apply Evenly and Thoroughly
After selecting the perfect adhesive, it’s time to get your hands a little messy and apply it to your heels. Start by ensuring your heels are clean and dry—this is essential for a strong bond. Use a brush or sponge to spread the adhesive evenly across the areas you want to cover. Remember, applying too thick can lead to uneven glitter application, so a light, smooth layer is key. For those tricky spots, consider using a toothpick for precision. Don’t forget your surface preparation tips: scuffing the area lightly with sandpaper can help the adhesive grip better. Once you’ve got that adhesive on, you’re one step closer to rocking those dazzling glitter heels!
Allow to Dry Completely
Once you’ve applied the adhesive, patience is key to achieving that flawless glitter finish. Allow your heels to dry completely in ideal conditions—this means a cool, dry area with good airflow. It’s important to check the drying time recommended on your adhesive’s label; rushing this step could lead to a sticky mess. If possible, avoid direct sunlight, as it can affect the adhesive’s performance. Give your shoes a solid 24 hours to make sure everything sets perfectly. Once dry, you can gently tap the glitter to check if it’s secure. Trust me, taking this time will pay off big when you strut your fabulous new kicks! Happy crafting, and get ready to shine!
Add the Glitter
Now it’s time to release your creativity and add the glitter! Start by choosing your favorite glitter types—chunky, fine, or holographic can all create stunning effects. Grab your adhesive, whether it’s mod podge, spray adhesive, or fabric glue. For a sleek finish, a sponge brush works wonders for applying the glue evenly.
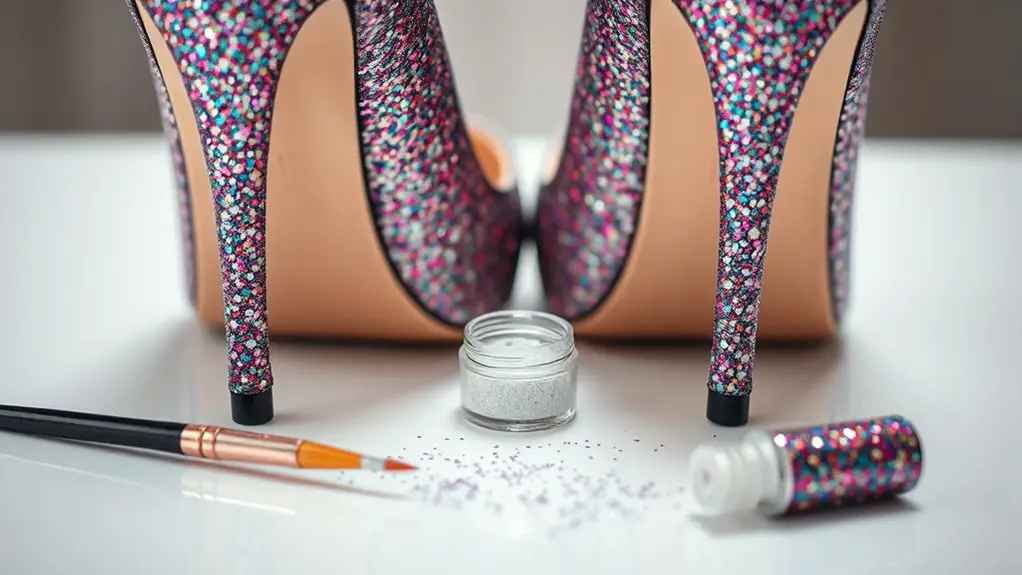
Begin with one section of your heel, applying a thin layer of adhesive. Sprinkle the glitter generously over the glued area, ensuring every spot is covered. You can also experiment with different application techniques; for instance, using a small funnel can help control the glitter flow. Don’t be afraid to mix glitter types for a unique look! Just remember to work in small sections to avoid a messy finish. Once you’re satisfied with the coverage, give your heels a moment to set before moving on to the next step. Your dazzling heels are on their way!
Seal the Glitter

To guarantee your glitter stays put and shines bright, sealing it is a must. You’ve put in the effort, so don’t let your hard work go to waste! There are various glitter sealant types you can choose from, including clear spray sealants and liquid glue. Each has its perks; spray sealants offer an even finish, while liquid glues allow for precise application.
When it comes to sealing techniques, start by ensuring your glitter is completely dry. For spray sealants, hold the can about 6-8 inches away and apply light, even coats. If you’re using liquid glue, gently brush it over the glitter, ensuring full coverage without saturating the surface. Be patient and let it dry thoroughly, as this will enhance durability. You want your heels to dazzle, not flake! Once sealed, your glitter will be ready to sparkle all night long.
Show Off Your Sparkly Creations
Now that you’ve created your stunning glitter heels, it’s time to show them off! Whether you’re strutting at a party or just out with friends, these unique creations are perfect for making a statement. Don’t forget to snap a pic and share your sparkly style on social media—everyone will want to see your fabulous flair!
Unique Personal Style
When it comes to expressing your unique personal style, nothing says “look at me” quite like a pair of DIY glitter heels. These sparkly creations aren’t just shoes; they’re a statement about your personal branding. By customizing your heels, you’re showcasing your individual flair and style expression, turning heads wherever you go. You can choose colors and patterns that reflect your personality, making each pair a true reflection of who you are. Plus, the thrill of creating something unique adds an extra layer of joy to your fashion game. So, whether you’re dressing up a casual outfit or adding sparkle to a night out, your DIY glitter heels will always be a fabulous representation of your distinctive style.
Perfect for Occasions
Your DIY glitter heels aren’t just a fashion statement; they’re the perfect accessory for any occasion that calls for a little extra sparkle. Whether you’re dressing up for a wedding or hitting a glamorous party, these sparkly creations can elevate your outfit.
Here are some occasions where your glitter heels will shine:
- Weddings: Add a dazzling touch to your dress code.
- Birthday Parties: Stand out and celebrate in style.
- Prom or Homecoming: Make a memorable entrance with your sparkly flair.
- Holiday Gatherings: Bring on the festive vibes with a twinkle in your step.
No matter the event, your glitter heels will make you feel confident and fabulous, proving that a little sparkle goes a long way!
Share on Social Media
Wondering how to show off your fabulous DIY glitter heels? Social media’s the perfect platform to share your creations! Snap some eye-catching photos and let your heels take center stage. Use natural lighting for that extra sparkle and try different angles to showcase your hard work.
Don’t forget to add fun captions and hashtags like #DIYGlitterHeels and #ShoeGoals to connect with fellow crafters and fashion enthusiasts. You could even create a short video tutorial or a before-and-after reel to engage your audience.
Tag your favorite brands or DIY accounts for greater visibility, and watch the compliments roll in! So go ahead, flaunt your stunning sparkly creations and inspire others to get crafty!
Frequently Asked Questions
Can I Use Any Type of Glue for Glitter Application?
You can’t just use any glue types for glitter; opt for strong craft or fabric glue instead. If you’re looking for glue alternatives, consider spray adhesive for an even, sparkly finish. Your heels will shine!
How Long Does the Glitter Take to Dry?
Isn’t it exciting to see your glitter sparkle? Typically, glitter drying time takes about 1-2 hours, but for best results, let it cure overnight. Patience pays off, and your heels will shine beautifully!
What Type of Glitter Works Best for Shoes?
When choosing glitter for shoes, fine glitter gives a smooth, elegant finish, while chunky glitter adds a fun, bold look. It’s all about your style—mix them for a unique twist that sparkles!
Can I Wash My Glitter Heels After Crafting?
You can’t wash your glitter heels like regular shoes, but you can use gentle cleaning methods. For shoe care, try a damp cloth or a soft brush to maintain that sparkling charm without damaging the glitter.
How Do I Fix Any Mistakes During the Process?
If you make a mistake during glitter application, don’t stress! Just gently remove excess glitter with a brush or fix uneven spots by adding more adhesive. It’s all about patience and creativity—your heels will shine!
